Build a Reclaimed Wood Coffee Table From Scratch


Digitriserkamal
5 April 2026
Have you been staring at that pile of books with no place to go? Good news: you can build a custom bookshelf this weekend — even if you’ve never picked up a drill in your life.
This guide walks you through every step. From buying the right wood to mounting your shelf on the wall, you’ll have everything you need to succeed.
No fancy tools. No woodworking degree. Just a clear plan, a free Saturday, and a bit of ambition. Let’s get started.
Store-bought shelves are fine. But they rarely fit your space perfectly. A custom build gives you full control over size, style, and finish.
You also save money in the long run. A solid wood bookshelf you built yourself will last far longer than most flat-pack options.
Beyond practicality, there’s real pride in making something with your hands. Every time someone visits, you can say: “I built that.”
")
Key benefits at a glance:
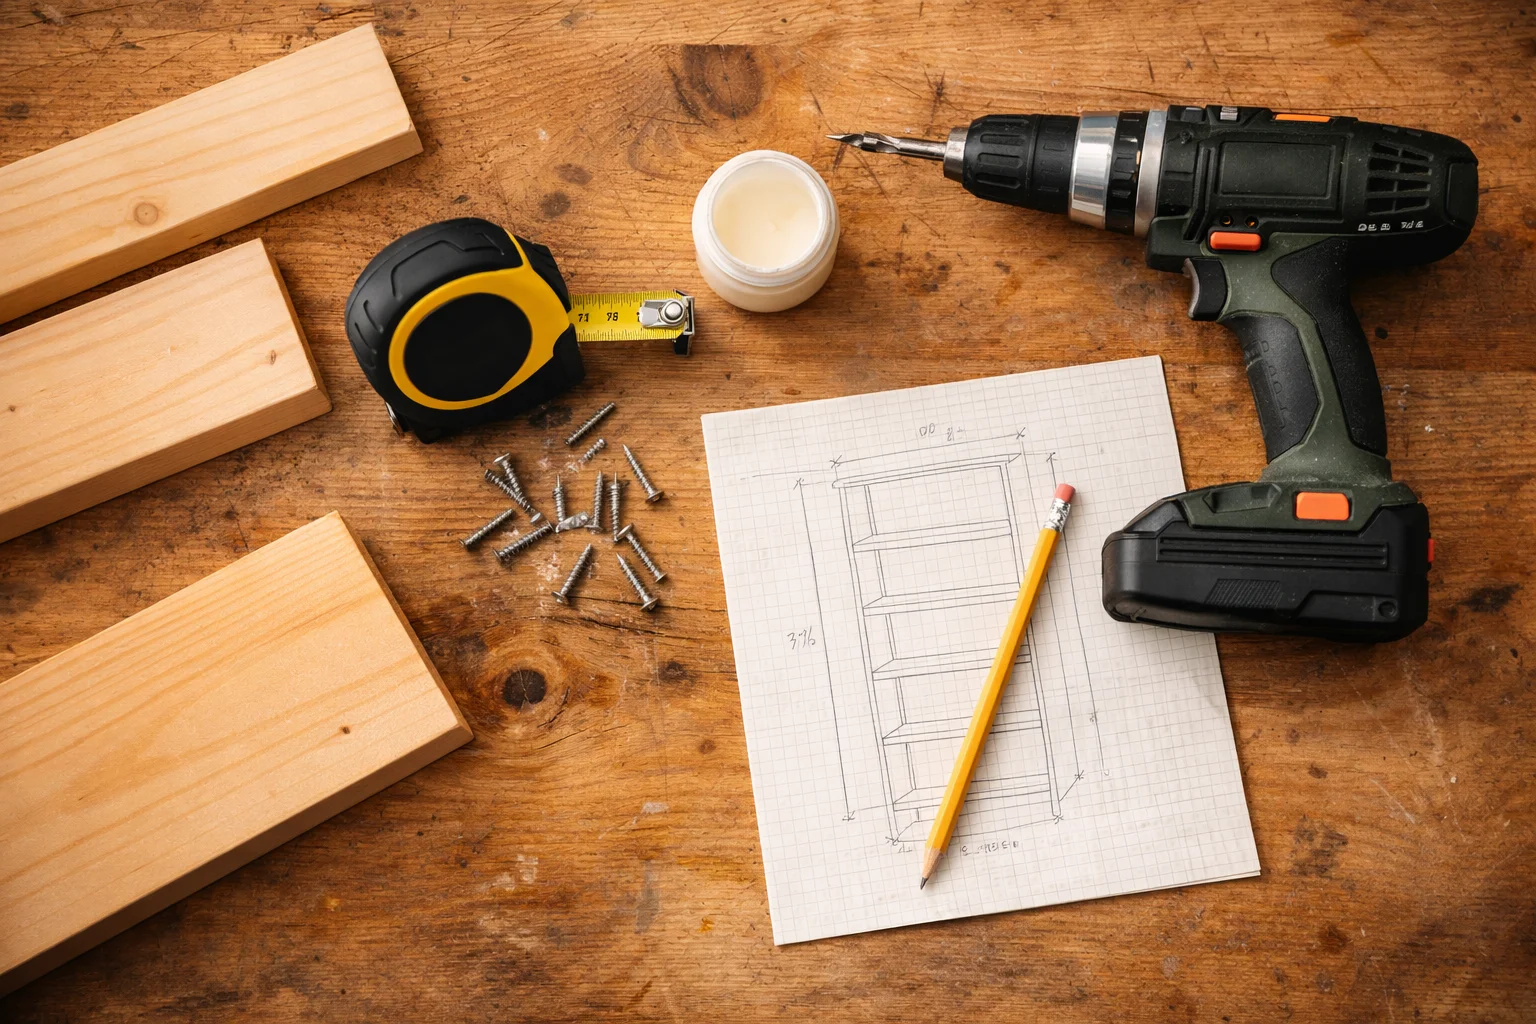
Good preparation makes everything easier. Before cutting a single board, gather your materials and tools.
H3
Don’t own a saw? Many hardware stores will cut boards to size for free or a small fee. Take advantage of that.
Follow these steps in order. Each one builds on the last. Take your time — rushing is how mistakes happen.
Start by deciding where the bookshelf will go. Measure the height, width, and depth of the space available.
Sketch a rough plan on paper. Include the number of shelves and their spacing. A standard shelf gap of 12–14 inches fits most books comfortably.
Write down every measurement twice. Always double-check before you cut.
Using your measurements, cut the boards for the two side panels, the top, the bottom, and each shelf.
Wear safety goggles. Clamp each board before cutting to keep it steady.
Once cut, lightly sand the edges with 120-grit sandpaper to remove splinters.
Lay one side panel flat. Apply a thin line of wood glue where the top and bottom boards will connect. Press them into position.
Drill pilot holes to prevent the wood from splitting. Drive in screws to secure each joint.
Repeat on the other side. Let the glue set for 30 minutes before adding weight or moving the frame.
Mark the shelf positions on the inside of both side panels. Use a level to make sure they’re even.
Apply glue, clamp each shelf in place, and screw it in from the outside panels.
Work from bottom to top. It’s much easier that way.
Once assembled, sand the entire surface with 220-grit paper. This creates a smooth finish and helps paint or stain adhere better.
Apply your chosen finish — paint for a modern look, stain for a natural feel, or clear sealer for a raw wood appearance.
To wall-mount, use a stud finder to locate studs. Drill through the back panel directly into the studs. This keeps the bookshelf safe and stable.
Even simple projects have pitfalls. Here are the most common errors beginners make — and how to avoid them.
Once you’ve nailed the basics, there are plenty of ways to make your shelf uniquely yours.
Small touches like these transform a functional shelf into a design statement.
A basic custom bookshelf typically costs between $50 and $150 in materials, depending on the wood type and size. Pine is the most affordable option. Hardwoods like oak or walnut cost more but look premium and last longer.
Pine is ideal for beginners. It’s soft, easy to cut, widely available, and inexpensive. Plywood is another great option — it’s strong, stable, and doesn’t warp as easily as solid boards. Avoid MDF for shelves that will hold heavy loads.
Yes. Most large hardware stores (like Home Depot or B&Q) offer a free or low-cost board-cutting service. Bring your measurements, and they’ll cut everything to size. You then only need a drill and screws to assemble it at home.
Building a custom bookshelf is one of the most rewarding DIY projects you can tackle as a beginner. It’s affordable, achievable in a single weekend, and the result is genuinely useful.
You now have the full blueprint: the tools, the steps, the tips, and the confidence. All that’s left is to get started.
We’re here to help! Whether you need guidance on choosing the right plans or have questions about our recommendations, our team is ready to assist. Reach out anytime—your success is our priority.