Build a Reclaimed Wood Coffee Table From Scratch


Digitriserkamal
5 April 2026
Small spaces don’t have to feel cramped. If you want to build a Murphy bed that folds away cleanly and hides useful storage behind it — this guide is for you.
The best part? You can do it for under $300. No expensive kits. No contractor. Just smart design, basic tools, and a weekend of focused work.
This step-by-step guide walks you through every stage — from planning to hardware installation. And if you want to skip the measuring and go straight to building, grab our ready-made plans at Digitriser
Pre-built Murphy beds can cost anywhere from $1,000 to $5,000 installed. That’s a significant investment — especially for a guest room or studio apartment.
When you build a Murphy bed yourself, you cut costs dramatically. You also get full control over dimensions, finish, and built-in storage options.
A DIY Murphy bed also fits your exact space — no awkward gaps, no wasted wall area.

Key advantages of building your own:
Good preparation is half the work. Before picking up a saw, gather everything on this list.
Pro tip: Want to skip the planning phase entirely? Download our complete Murphy bed woodworking plans at Digitriser — every cut, dimension, and hardware spec is already worked out for you.
Follow these steps in order. Each stage depends on the one before it, so don’t skip ahead.
Decide between a vertical or horizontal fold. Vertical is the most common — the bed folds up against the wall with the length running floor to ceiling.
Choose your mattress size next: twin (38″×75″), full (54″×75″), or queen (60″×80″). Your cabinet dimensions will be built around the mattress.
Measure your wall space carefully. The cabinet needs at least 2–3 inches of clearance on each side.
The main cabinet consists of two side panels, a top panel, a bottom panel, and a middle divider. Cut each piece to your plan dimensions.
Many hardware stores will cut large plywood sheets for a small fee. Take advantage of this — it’s safer and more accurate than cutting full sheets at home.
Label each panel immediately after cutting. It saves confusion during assembly.
Lay the side panels flat and attach the top and bottom panels using glue and screws. Drill pilot holes first to prevent splitting.
Check the cabinet is square by measuring diagonally from corner to corner. Both measurements must match exactly.
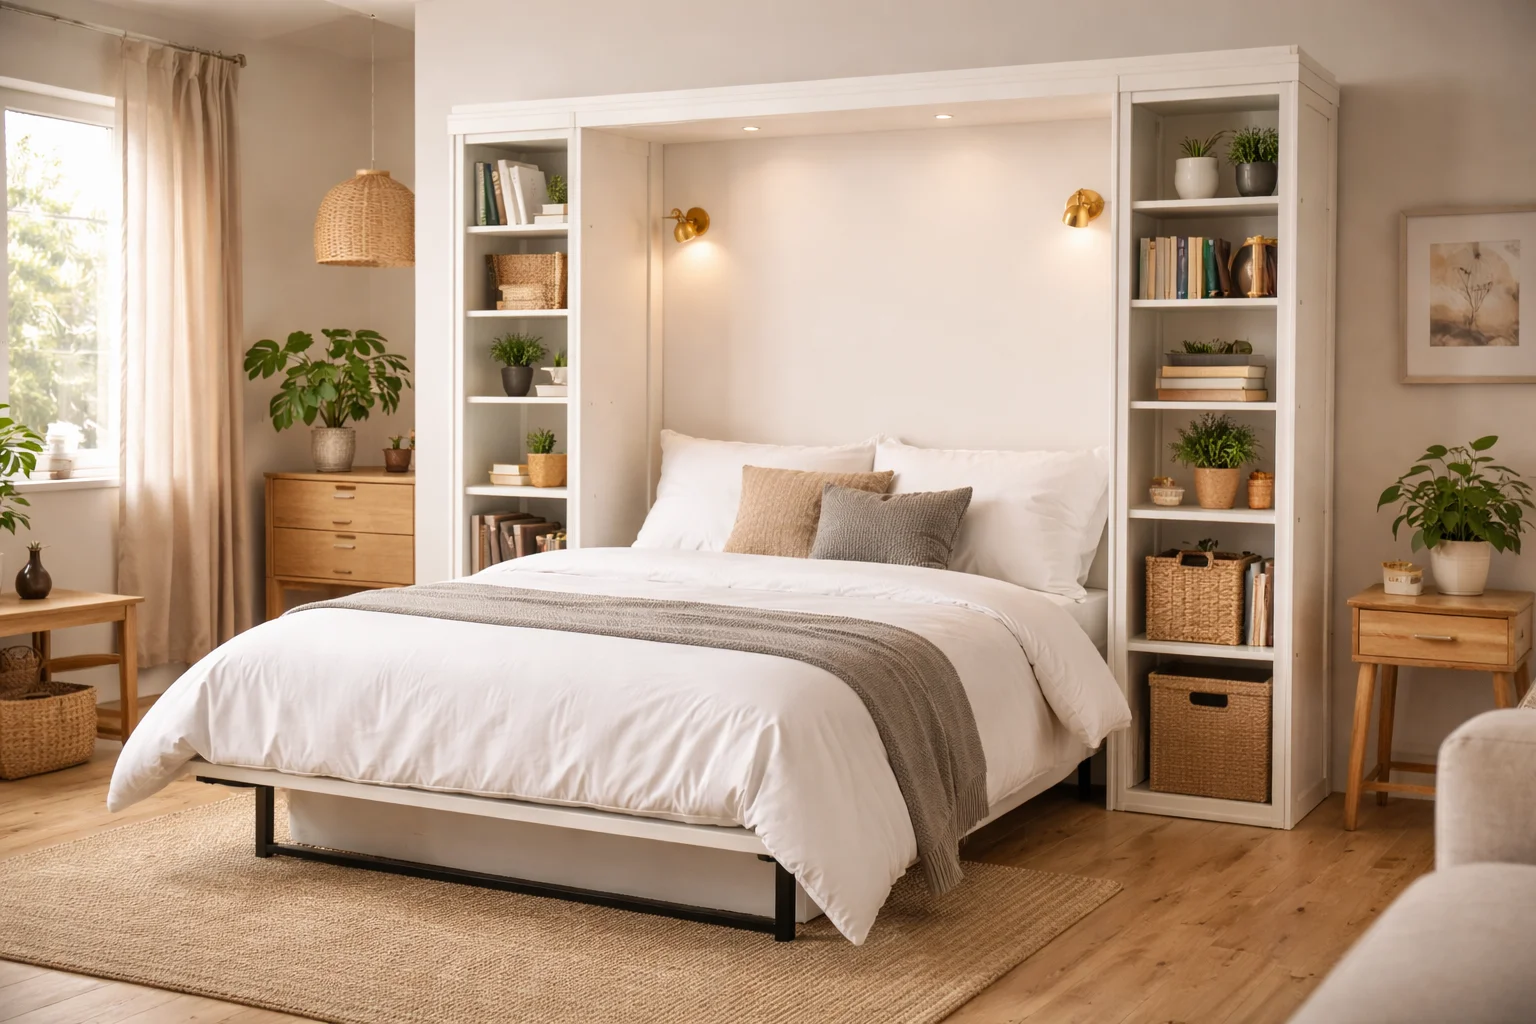
Add the middle divider to create two side storage compartments. These will become your hidden shelving units once the bed is open.
This is the most critical step. The piston mechanism is what allows the bed to fold up and down safely and smoothly.
Follow the hardware manufacturer’s instructions precisely. Mount the pistons inside the cabinet according to your mattress weight. Most kits include all required brackets.
Test the mechanism before attaching the bed panel. The pistons should lift and lower smoothly with controlled resistance.
The bed panel is a plywood frame that holds the mattress and attaches to the piston arms. Cut it to your mattress dimensions plus 1 inch on each side.
For the hidden storage: add fixed or adjustable shelves inside each side cabinet section. These remain accessible whether the bed is up or down.
Attach legs to the bottom of the bed panel. When folded down, these support the outer edge and keep the bed stable.
A Murphy bed must be anchored to wall studs. Use a stud finder, then drive lag bolts through the back of the cabinet into at least two studs.
Sand all exposed surfaces — 120 grit first, then 220 for a smooth finish. Fill any screw holes with wood filler and sand flush.
Paint or stain the entire unit. Two coats give a clean, professional result. Add door pulls or handles to the front panel for easy operation.
Building a Murphy bed is very achievable — but a few errors can affect safety and functionality. Here’s what to watch for.
The storage panels on either side of a Murphy bed are one of its greatest underrated features. Use them well.
These additions turn a simple fold-down bed into a full room transformation.
It’s more manageable than most people expect. The cabinet is essentially a large box with a fold-down panel. If you can use a drill and follow measurements, you can build a Murphy bed. Using pre-made plans — like those available at Digitriser — removes all the guesswork and makes the process much more accessible for beginners.
Piston-style hardware kits are the most beginner-friendly option. Brands like Rockler, Murphy Bed Hardware, and Create-A-Bed offer reliable kits with clear instructions. Choose a kit rated for your mattress weight — typically 50–80 lbs for a queen mattress alone. Always buy from a reputable supplier and check the weight rating carefully before purchasing.
Yes — with smart material choices. The biggest cost is the piston hardware kit, which typically runs $80–$150. The rest goes on plywood and fasteners. Buying plywood in full sheets and having the store cut it to size reduces waste and cost. Choosing paint over stain also saves money. Stick to the materials list and you’ll stay well within budget.
A Murphy bed with hidden storage is one of the smartest space-saving upgrades you can make — and now you know exactly how to build one for under $300.
The steps are clear. The tools are basic. The result is a room that genuinely works harder for you.
Want to start building today without the measuring headaches? Download our complete, ready-to-use Murphy bed woodworking plans at Digitriser — every dimension, cut list, and hardware spec already done for you.
We’re here to help! Whether you need guidance on choosing the right plans or have questions about our recommendations, our team is ready to assist. Reach out anytime—your success is our priority.