Build a Reclaimed Wood Coffee Table From Scratch


Digitriserkamal
5 April 2026
There’s something special about a piece of furniture with a past. When you build a reclaimed wood coffee table, you’re not just saving money — you’re giving discarded wood a second life and creating something genuinely one of a kind.
Reclaimed wood is full of character. Old nail holes, grain variations, and natural weathering create a look no store-bought table can replicate.
This guide walks you through the entire process — sourcing the wood, preparing it, building the frame, and finishing it beautifully. No advanced skills required.
Reclaimed wood is one of the most sought-after materials in furniture design right now. And for good reason.
It’s sustainable. Using salvaged wood reduces waste and limits the demand for newly harvested timber. You build something beautiful while doing something good.
It’s also more affordable than buying premium hardwood from a lumber yard. Old barn boards, scaffold planks, or pallet wood can often be sourced for free or very cheaply.
And crucially — the texture and character of reclaimed wood simply cannot be faked. Every knot and stain tells a story.

Why builders love reclaimed wood:
Finding the right wood is the most important step before you build a reclaimed wood coffee table. Quality and consistency matter.
Here are the best places to look:
Always inspect wood for rot, deep cracks, or chemical treatment before using it indoors. A moisture meter is a worthwhile $15 investment.
Preparation prevents problems. Gather everything before you start — you’ll work faster and with better results.
A metal detector or strong magnet is essential when working with reclaimed wood. Hidden nails will destroy saw blades in seconds.
Take your time with each stage. Reclaimed wood rewards patience. Rushing leads to gaps and uneven surfaces.
Start by scrubbing each plank with a stiff wire brush. Remove dirt, loose paint, and surface debris. Work with the grain, not against it.
Use your magnet to sweep every piece for hidden nails or staples. Mark any you find and remove them fully with pliers or a nail punch.
Let the wood dry indoors for at least 48 hours if it’s been stored outside. Wet wood moves as it dries — it will cause warping if rushed.
Reclaimed wood is rarely flat or uniform. Run each plank through a thickness planer if you have access to one — many makerspaces and tool libraries offer this.
Alternatively, belt sand the high spots by hand. It takes more time, but gives excellent results on smaller pieces.
Cut all planks to the same length using your miter saw. A standard coffee table top is around 48″×24″ — adjust to suit your space.
Arrange your planks in the most visually appealing order. Play with the grain direction and color variation before committing to the layout.
Apply wood glue to each mating edge. Press the planks together tightly and clamp across the full width. Use at least one clamp every 12 inches.
Wipe away excess glue immediately with a damp cloth. Leave clamped for a full 24 hours — no shortcuts here.
Once the glue is fully cured, sand the entire tabletop flat. Start with 80 grit to level any height differences between planks.
Progress through 120 grit and finish with 220 grit for a smooth surface that’s ready for finishing.
Don’t over-sand reclaimed wood. Part of its beauty is its imperfections — deep scratches and tool marks are features, not flaws.
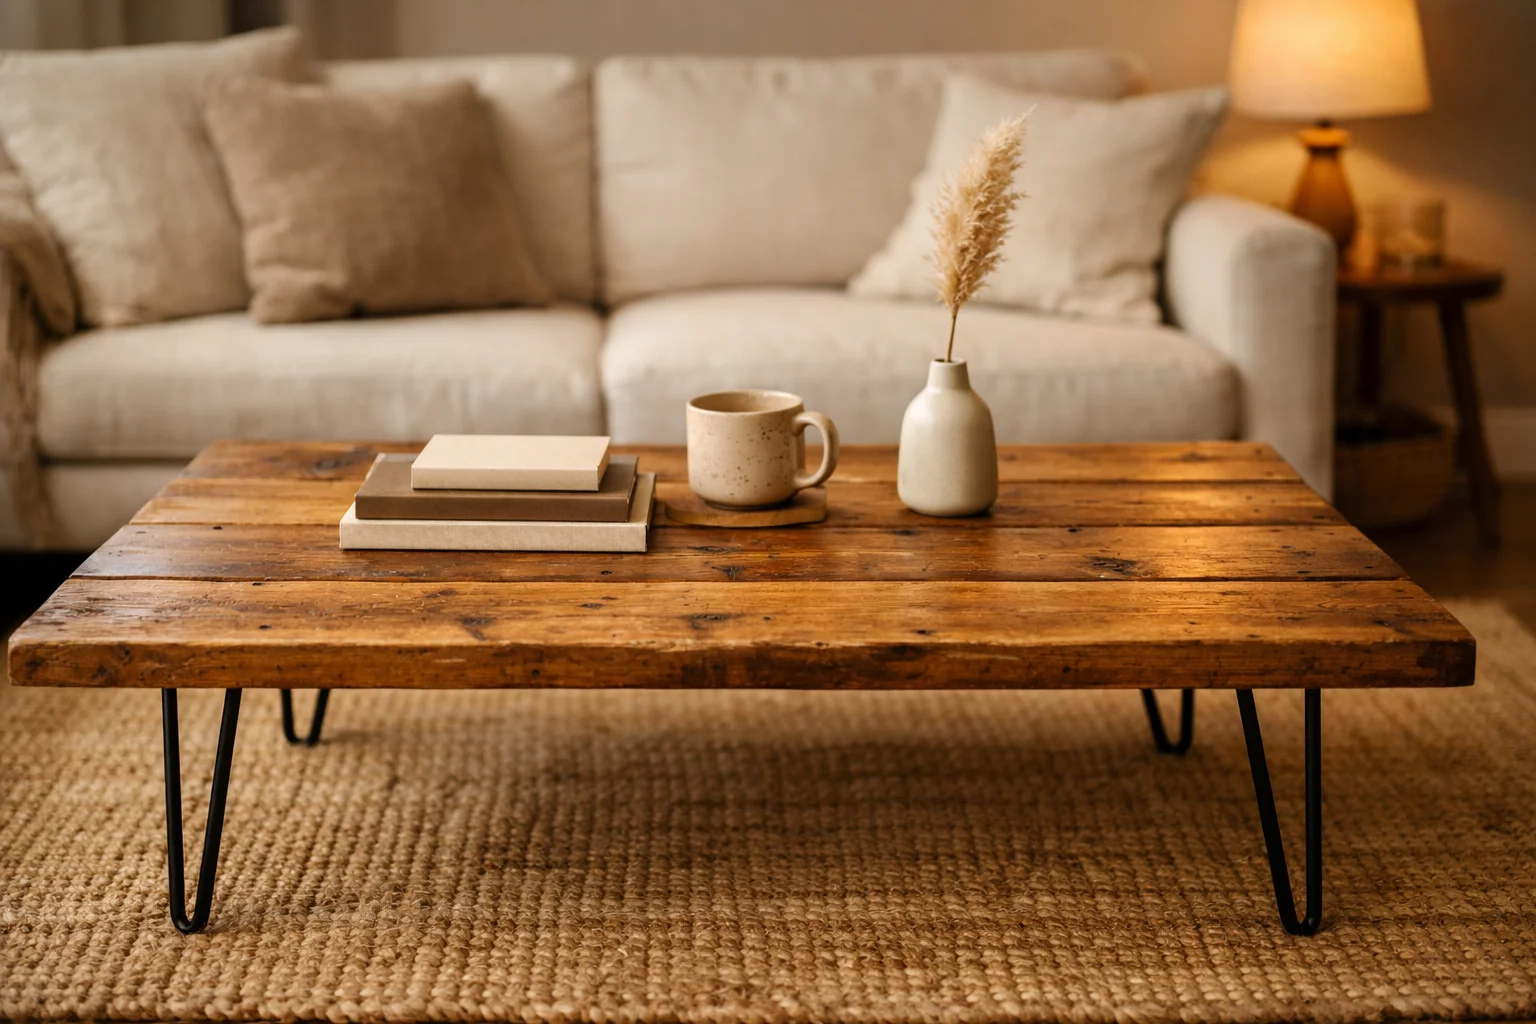
Flip the tabletop upside down on a padded surface. Position your legs — hairpin legs are the most popular choice for a modern industrial look.
Mark the screw holes, drill pilot holes, and attach each leg firmly. Check that all four legs sit flat by placing the table on a level surface before tightening fully.
Add metal corner brackets or a wooden cleat across the underside to prevent the tabletop from bowing over time. This step is often skipped — don’t make that mistake.
The right finish brings reclaimed wood to life. Danish oil is a top choice — it penetrates deep, enhances the grain, and gives a natural matte look.
Apply with a lint-free cloth, working with the grain. Let the first coat absorb for 20–30 minutes, then wipe away the excess. Repeat with a second coat after 24 hours.
For higher durability — especially if kids or pets are in the home — use two coats of matte water-based polyurethane instead. It’s tougher and easy to clean.
Reclaimed wood projects have their own specific pitfalls. These are the ones that trip up beginners most often.
Once your table is built, personalise it. Small design choices make a big difference to the final result.
Every build is different. That’s exactly the point.
Danish oil is ideal for a natural, low-sheen result that enhances the grain without masking it. For higher durability in busy households, a matte water-based polyurethane is a better choice — it resists scratches, spills, and daily wear far more effectively. Avoid gloss finishes on reclaimed wood as they look artificial against aged timber.
If you source the wood for free — from a demolition site, a neighbour, or a pallet — total costs can be as low as $40 to $80. This covers legs, screws, sandpaper, and finishing oil. Even buying reclaimed wood from a salvage yard, you’ll typically spend $100–$180 total. Far less than comparable tables in furniture stores.
Absolutely. A random orbital sander with coarse 60 or 80 grit paper can flatten minor height differences between planks. For more uneven wood, a belt sander works even faster. Many local makerspaces and tool libraries also offer access to a thickness planer for a small fee — worth checking before buying one.
When you build a reclaimed wood coffee table, you create something that mass production simply can’t replicate. The grain, the history, the imperfections — they all make it yours.
You’ve now got the full process: where to find the wood, how to prepare it, how to assemble and finish it beautifully. All that’s left is to start.
Share a photo of your finished table in the comments below — we’d genuinely love to see what you create. And if you’re already thinking about your next build, browse our full collection of woodworking project plans at Digitriser — designed for every skill level, from first-timers to seasoned makers.
We’re here to help! Whether you need guidance on choosing the right plans or have questions about our recommendations, our team is ready to assist. Reach out anytime—your success is our priority.