Build a Reclaimed Wood Coffee Table From Scratch


Digitriserkamal
5 April 2026
Imagine relaxing in your backyard under a beautiful shaded structure you built yourself. If you’ve been wondering how to build a pergola, you’re in the right place.
This guide gives you everything — from planning and materials to post-setting and finishing. No contractor. No guesswork. Just clear, step-by-step instructions anyone can follow.
Whether your backyard is large or small, a pergola transforms any outdoor space into a true living area. Let’s build yours.
Pergola kits are convenient, but they come with trade-offs. They’re often made from thin materials, designed for average spaces, and marked up significantly.
When you build a pergola from scratch, you control every detail. You choose the wood, the size, the spacing of the rafters, and the finish.
A custom-built pergola also adds real value to your property. It’s a permanent, structural improvement — not just garden furniture.

Reasons to build from scratch:
Before you start digging, gather your materials and tools. Being prepared saves you three trips to the hardware store.
Check with your local municipality before digging. Some areas require a permit for permanent outdoor structures.
Follow each step carefully. A pergola is straightforward, but precision at each stage makes the whole structure solid and square.
Start by deciding the size and placement of your pergola. A common beginner size is 10×12 feet — manageable and impactful.
Sketch your plan on paper. Mark post positions, beam lengths, and rafter spacing. A standard rafter gap is 12–16 inches.
Use stakes and string to lay out the footprint on the ground before touching any tools.
Dig post holes at least 24–36 inches deep, or below the local frost line. Depth matters — shallow posts shift over time.
Place each post in its hole. Pour concrete mix around it, checking for plumb (vertical alignment) with your level on two sides.
Brace each post with temporary 2×4 supports. Let the concrete cure for at least 24–48 hours before adding any load.
Once the posts are set and cured, mark the top height on each post using a level and a chalk line. This ensures your beams sit level.
Attach the beams to the outside of the posts using structural screws or bolts with washers. Two fasteners per connection is the minimum.
For decorative effect, many builders cut a small curve or notch at the ends of the beams. Use a jigsaw for clean curves.
Rafters run perpendicular to the beams across the top of the pergola. Space them evenly — use a tape measure and mark both beams before installing.
Secure each rafter with joist hangers or by toe-screwing at an angle into the beam. Either method works well.
Optionally, add a second layer of smaller purlins on top of the rafters for a more finished, lattice-like look.
Once the structure is complete, sand any rough edges. This protects the wood from splintering and helps the finish adhere evenly.
Apply an exterior wood stain or sealant. Two coats give better protection against rain and UV damage.
Allow the finish to dry fully before adding furniture, lights, or climbing plants.
A few missteps can affect the safety and longevity of your build. Here’s what to watch out for.
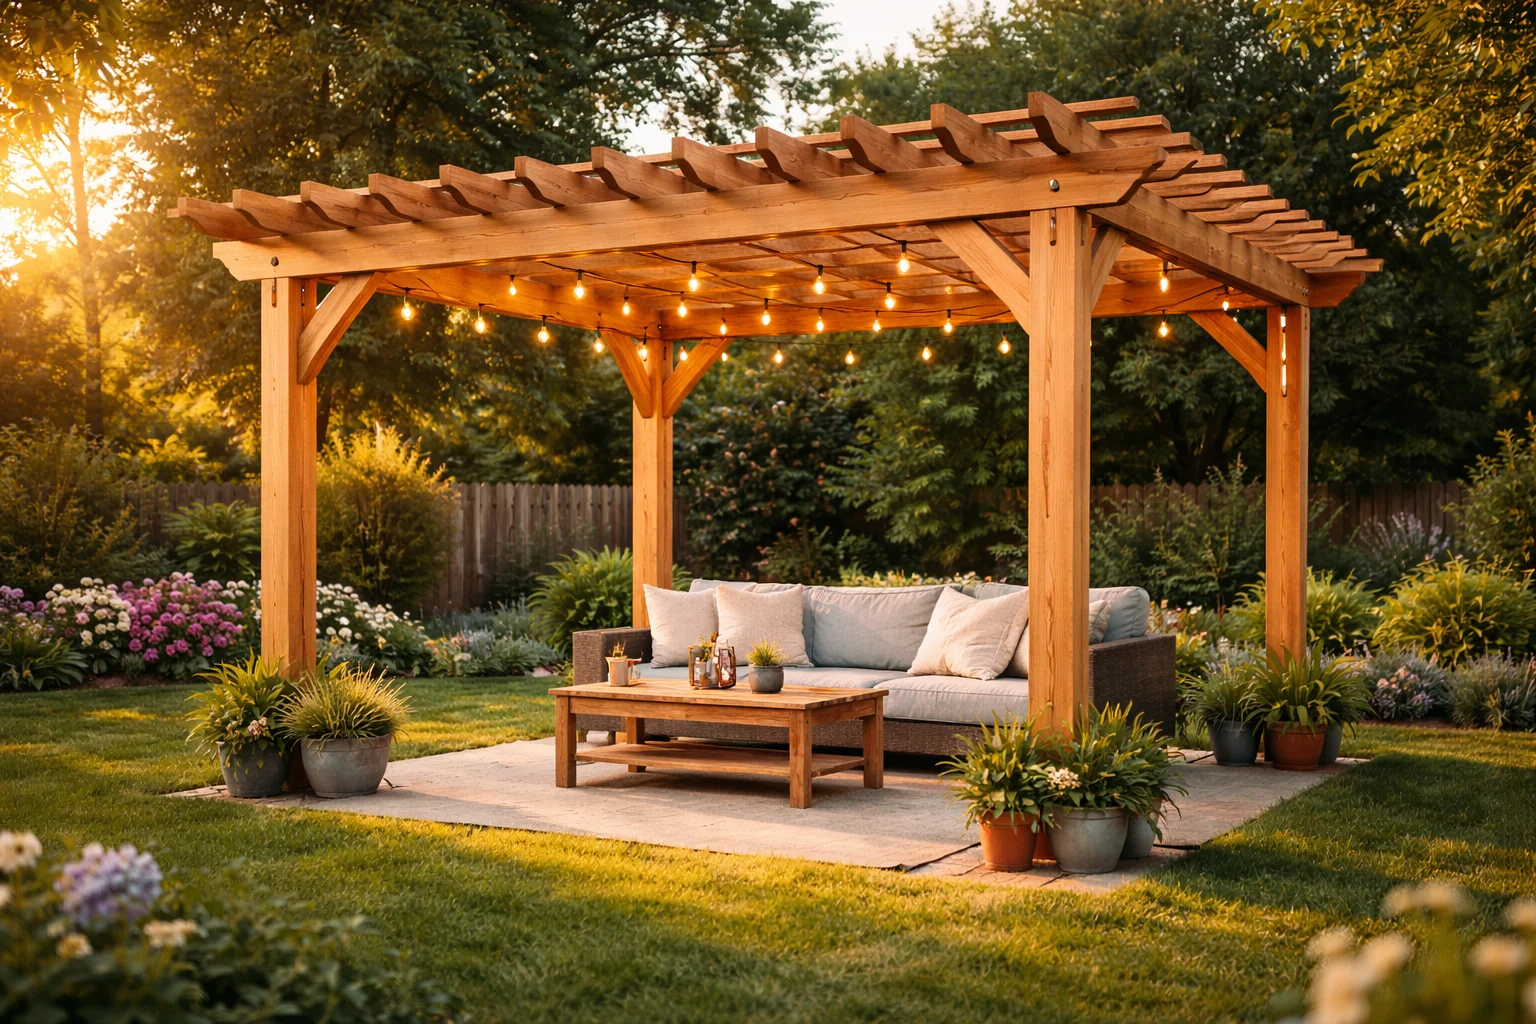
Once the structure is up, the fun really begins. A pergola is a blank canvas for outdoor living.
These simple additions turn a raw structure into a true outdoor room.
A DIY pergola typically costs between $500 and $2,000 in materials, depending on size and wood type. Pressure-treated pine is the most affordable option. Cedar and redwood cost more but resist rot and insects naturally, making them worth the investment long-term.
A standard 10×12 pergola can be completed in one to two weekends. Day one covers post-setting and concrete curing. Day two handles beam and rafter installation. Finishing — sanding and staining — adds a few hours. Working with a helper speeds up every stage significantly.
It depends on your location and the size of the structure. Many municipalities require a building permit for any permanent outdoor structure over a certain square footage. Always check with your local planning or building department before starting. Skipping this step can result in fines or having to remove the structure entirely.
Now you know exactly how to build a pergola from scratch. The process is straightforward, the materials are affordable, and the result completely transforms your outdoor space.
Take it one step at a time. Plan well, set your posts right, and the rest falls into place naturally.
Drop a comment below with your pergola size and wood choice — we’d love to follow your build. And if this guide helped you, share it with a neighbor or save it to Pinterest for when you’re ready to dig in.
We’re here to help! Whether you need guidance on choosing the right plans or have questions about our recommendations, our team is ready to assist. Reach out anytime—your success is our priority.