DIY Wooden Cabinet Plans for Every Room


Digitriserkamal
14 April 2026
A woodworking plan is the most valuable tool in your workshop. But only if you know how to use it.
Many beginners download a plan, stare at it for ten minutes, and then start cutting anyway — guessing at measurements and skipping steps they don’t understand. The result is predictable: wasted wood, crooked joints, and a half-finished project abandoned in the corner.
Learning how to read a woodworking plan properly takes less time than you think. This guide walks you through every element of a plan — from the title block to the final assembly diagram — so you can approach any project with complete confidence.
Before you learn how to read a woodworking plan, it helps to know what you’re looking at.
A complete woodworking plan is made up of several key sections. Each one serves a specific purpose. Together, they give you everything you need to build a project from scratch.
A well-structured plan typically includes:
Not every plan includes all of these. But the best ones do — and those are the plans that make building genuinely enjoyable.
This sounds obvious. But most beginners skip it.
Read the entire plan from start to finish before you buy materials or make a single cut. You’re not trying to memorise it. You’re trying to get a mental picture of the complete build.
Ask yourself:
This first read-through takes ten to fifteen minutes. It saves hours of confusion later.
Most woodworking plans show the project from multiple angles. This is called orthographic projection — the same system used in architecture and engineering.
You’ll typically see three standard views:
Some plans also include a perspective drawing or exploded view. An exploded view shows each component pulled slightly apart in 3D space. This is the most beginner-friendly type of drawing — it makes the assembly logic immediately clear.
Study each view carefully. Cross-reference them against each other. A measurement that’s unclear in one view is usually explained in another.
Measurements are the language of a woodworking plan. Reading them correctly is essential.
Here’s what to watch for:
When a dimension appears with a plus/minus symbol (e.g. ±2mm), it indicates an acceptable tolerance. That piece doesn’t need to be cut with surgical precision.
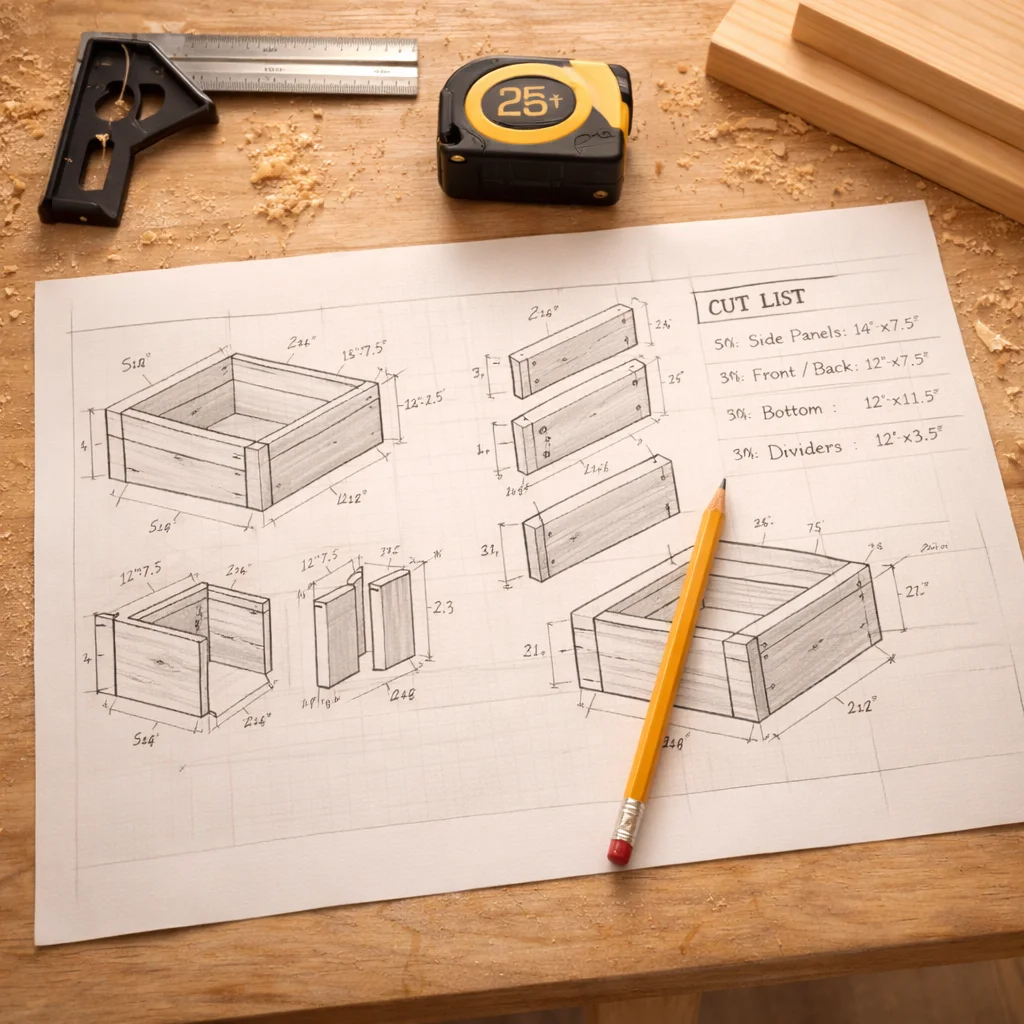
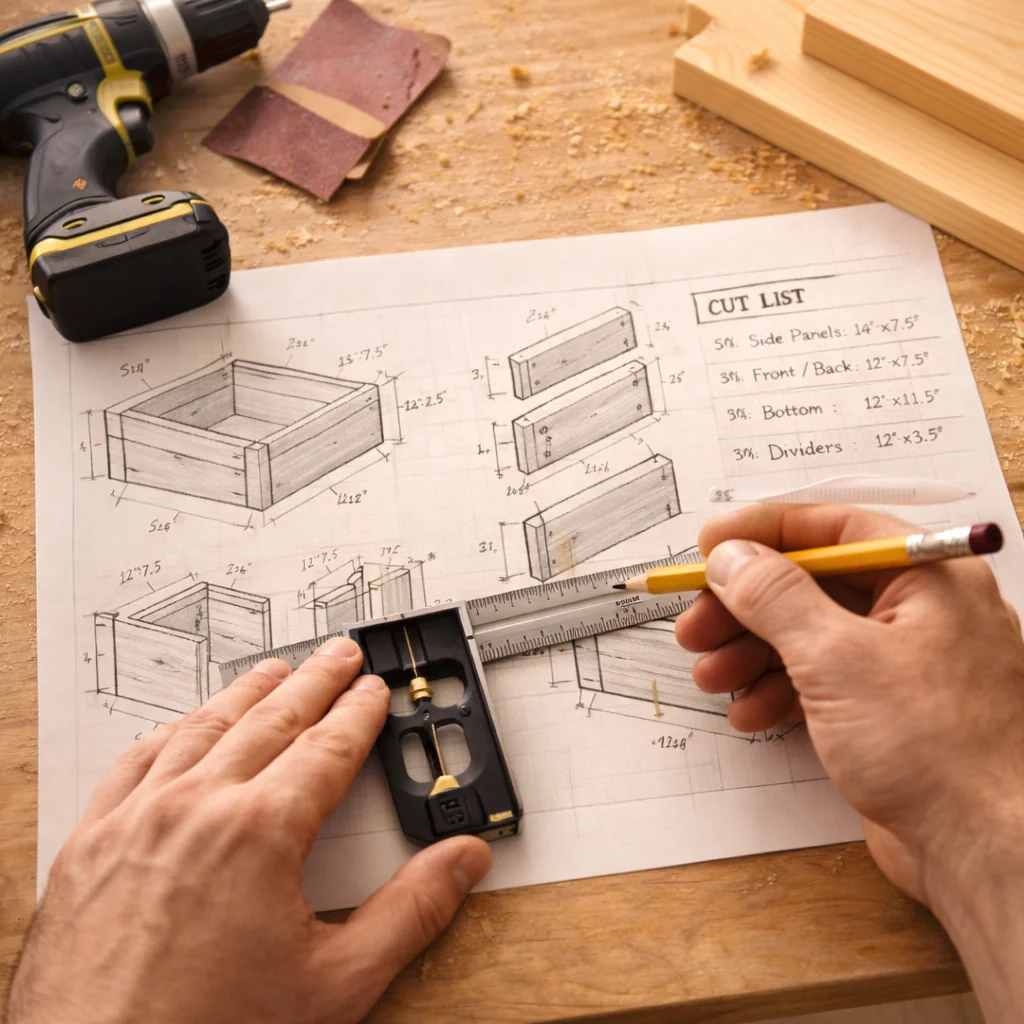
The cut list is one of the most important sections of any woodworking plan. It’s a table that lists every piece of wood needed for the project.
A typical cut list includes:
Part name | Quantity | Length | Width | Thickness | Material |
Side panel | 2 | 800mm | 300mm | 18mm | Pine |
Shelf | 3 | 560mm | 280mm | 18mm | Pine |
Back panel | 1 | 800mm | 600mm | 9mm | Plywood |
Use the cut list in two ways.
First, use it to calculate how much timber to buy. Group parts by material and thickness to work out how many boards or sheets you need.
Second, use it as a checklist during cutting. Tick off each piece as you cut it. This prevents duplicates and missed pieces.
Never start assembling until every piece on the cut list is cut and checked.
A good woodworking plan numbers the assembly steps in a specific order. That order exists for a reason.
Woodworking has a logic to it: some joints must be made before others are accessible. Some pieces must be glued and clamped before the next step can begin. Some surfaces need to be sanded before they’re enclosed inside the frame.
Follow the sequence as written — at least on your first build. Once you understand why the steps are ordered the way they are, you can make informed adjustments on future projects.
If a step is unclear, read the one before it and the one after it. Context usually resolves the confusion.
Finishing is the final stage of any project — and it’s the one that beginners most often rush.
The finishing notes in a woodworking plan tell you:
Follow these notes carefully. The finish is what the eye sees first. A well-finished piece in cheap pine can look more impressive than a poorly finished piece in expensive oak.
Even careful beginners make these errors. Knowing them in advance saves time and timber.
A woodworking plan is only useful if it’s clearly written and easy to follow.
Every plan in the DIGITRISER Woodworking Plans E-book is structured with beginners in mind. Each one includes an exploded view diagram, a complete cut list, a full materials list, and step-by-step assembly instructions written in plain language.
You don’t need design experience or engineering training to follow them. You just need this guide — and a free weekend.
[Download the DIGITRISER E-book and follow your first plan with confidence →]
Knowing how to read a woodworking plan is the skill that unlocks every other skill in woodworking.
It turns a complicated-looking document into a clear, step-by-step guide. It gives you confidence before you make your first cut. And it prevents the costly mistakes that send beginners back to square one.
Read the plan first. Understand the drawings. Work through the cut list. Follow the sequence.
Do that, and you’re already halfway to a finished project.
[Get your DIGITRISER plans and put this guide into practice today →]
How do you read measurements on a woodworking plan?
Start by identifying whether the plan uses metric or imperial measurements. Then locate the overall dimensions on the overview drawing, and the individual component dimensions on the detailed drawings or cut list. Always read length, width, and thickness together — never assume a missing dimension. When in doubt, cross-reference the same part across multiple views.
What is a cut list in a woodworking plan?
A cut list is a table that lists every piece of wood needed to build the project. It includes the part name, quantity, and exact dimensions (length, width, and thickness) for each piece. Use the cut list to calculate how much timber to buy, and tick off each piece as you cut it to avoid mistakes during the build.
What is an exploded view in a woodworking plan?
An exploded view is a 3D drawing that shows all the components of a project pulled slightly apart, as if the piece has been gently disassembled in mid-air. It makes the assembly logic immediately visible — you can see how each part connects to the next. It’s the most beginner-friendly type of drawing and the best place to start when reading a new plan.
We’re here to help! Whether you need guidance on choosing the right plans or have questions about our recommendations, our team is ready to assist. Reach out anytime—your success is our priority.