DIY Wooden Cabinet Plans for Every Room


Digitriserkamal
20 April 2026
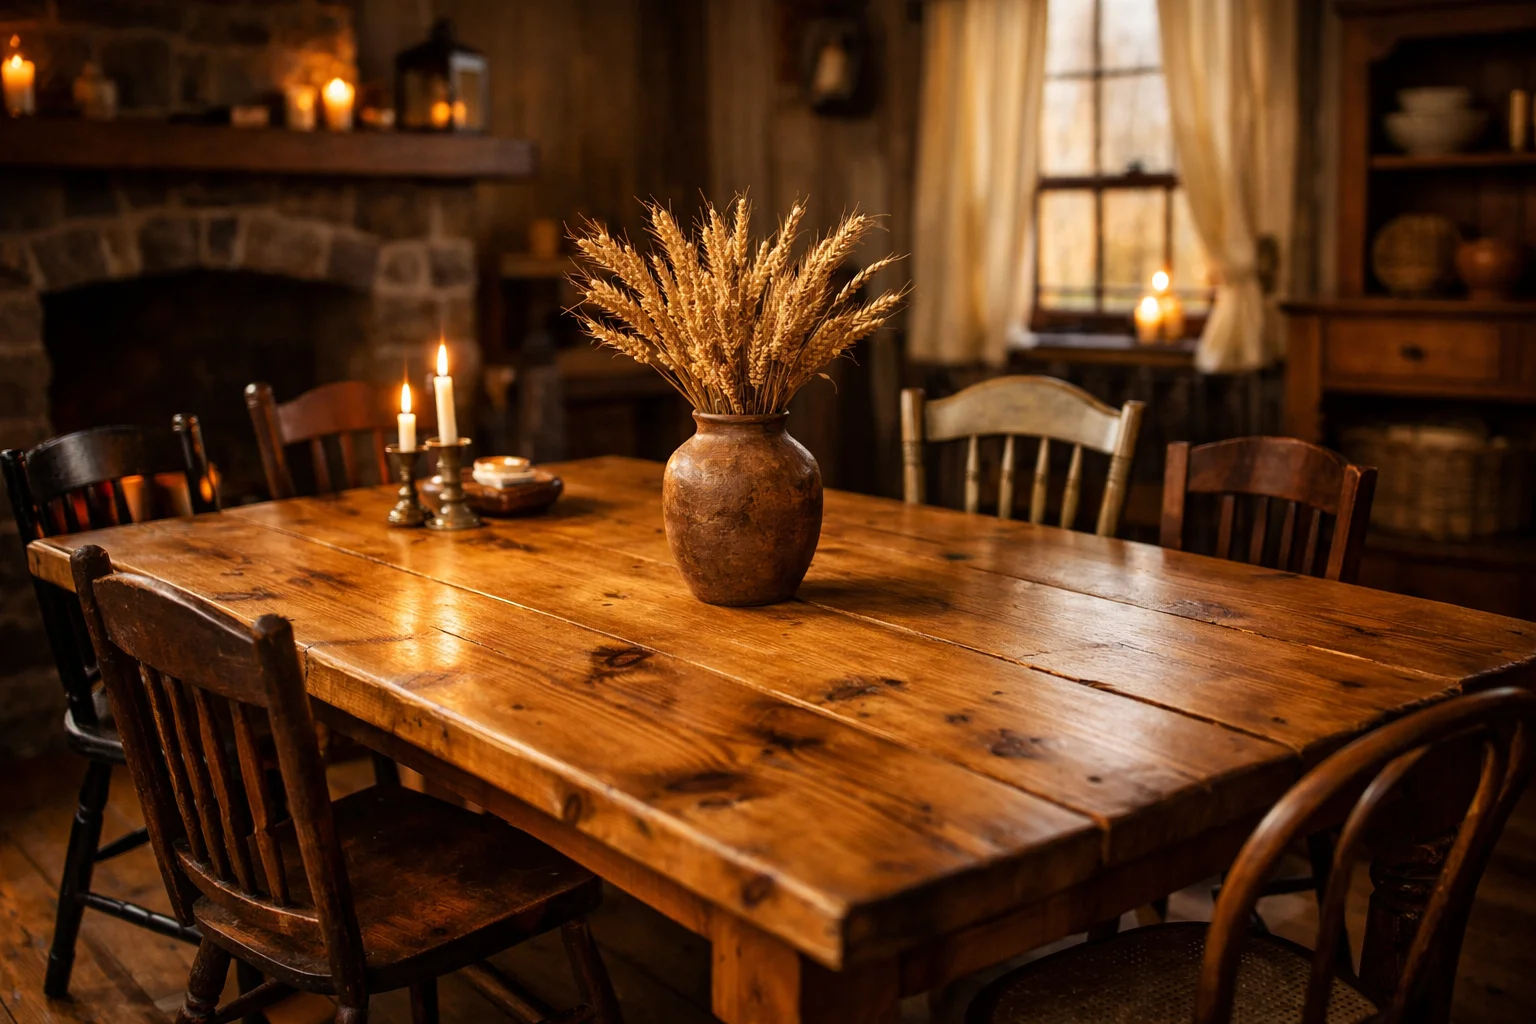
A farmhouse dining table is one of the most beautiful pieces of furniture you can own. It’s also one of the most rewarding to build yourself.
Solid, wide, generously sized — a farmhouse table becomes the centrepiece of a home. It’s where families eat, where friends gather, and where memories get made. And yet the design is surprisingly approachable for a beginner woodworker.
This guide walks you through everything you need to know to build a farmhouse dining table from scratch. Materials, tools, dimensions, assembly steps, and the one thing that makes it all come together cleanly: a proper woodworking plan.
Walk into any furniture store and you’ll find farmhouse-style dining tables. Most of them are made from MDF wrapped in a wood-effect veneer, assembled with cam locks, and priced at $600–$1,200.
They look reasonable in the showroom. They feel hollow when you knock on them.
A handbuilt farmhouse dining table is a different proposition entirely:
The farmhouse table is also the project that signals a real step forward in your woodworking journey. It’s not a small shelf or a garden box. It’s centrepiece furniture — and you made it.
You don’t need a fully equipped workshop. The following tools cover everything:
For a standard 6-seater farmhouse table (approximately 180cm × 90cm):
These are approximate dimensions. The full cut list with exact measurements — adjusted for real timber dimensions and tolerances — is available in the DIGITRISER Woodworking Plans E-book.
Start at the timber yard, not the workbench.
Sight down every board before buying. Reject any that are bowed, twisted, or cupped. A warped board in the tabletop is almost impossible to fix once it’s glued in place.
Buy kiln-dried timber. Green or air-dried timber continues to move as it dries — and a tabletop that shifts after assembly will crack at the joints.
Once home, stack the boards flat in your workspace for 24–48 hours before cutting. This lets them acclimatise to your home’s humidity.
Work through the cut list in order. Cut the legs first — they’re the thickest pieces and need the cleanest, most square cuts.
Use a combination square to mark every cut line. Check each measurement twice before cutting.
Label each piece with a pencil as you cut it. Legs, long apron, short apron, top boards — keeping them organised saves time during assembly.
The apron is the rectangular frame that sits between the legs, just below the tabletop. It holds the legs square and gives the top something solid to attach to.
Drill pocket holes into the ends of both the long and short apron rails using your pocket hole jig. Apply wood glue to the joint faces and drive pocket screws to pull the joints tight.
Check the frame for square by measuring the diagonals. Both measurements must be identical. Adjust before the glue sets.
The legs attach to the inside corners of the apron frame.
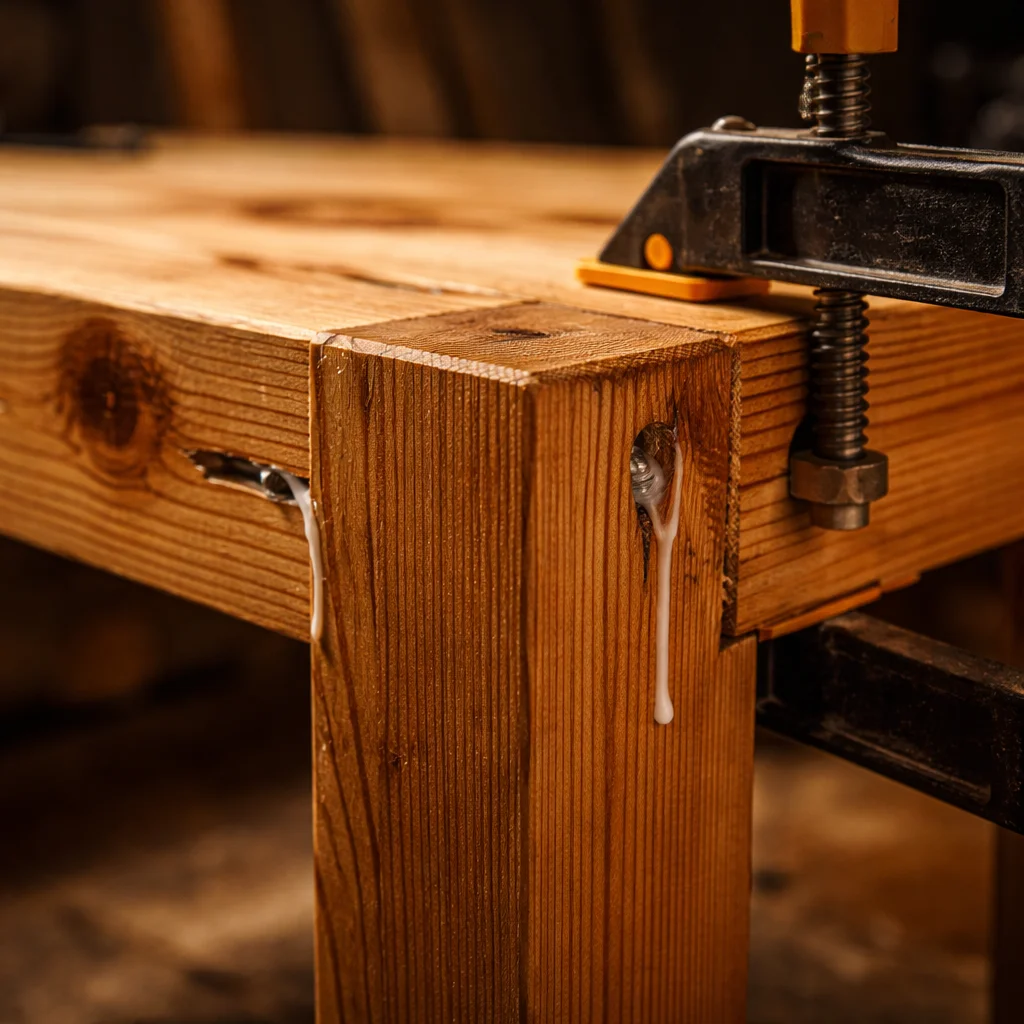
Apply glue to the corner faces of each leg. Position the leg flush with the top and outer edges of the apron. Drive pocket screws from inside the apron into the leg on both faces.
Clamp each leg firmly while the glue cures. Check that the leg is perfectly vertical using a square before moving on.
Repeat for all four legs. Set the base aside to cure for at least one hour.
The tabletop is made from multiple boards glued edge-to-edge to create a wide panel.
Apply an even bead of wood glue along each joining edge. Press the boards together and apply clamps across the width — one clamp every 300mm. Use cauls (straight pieces of scrap timber) above and below the panel to keep it flat under clamping pressure.
Leave to cure for a minimum of two hours, ideally overnight.
Once dry, sand the surface flat. Start with 80 grit to level any slight misalignments between boards, then progress through 120, 180, and 220 grit.
Never glue the tabletop directly to the apron frame. Solid wood expands and contracts across its width with seasonal humidity changes. A rigidly glued top will crack.
Instead, use figure-8 fasteners or tabletop clips. These slot into a groove in the apron and screw up into the underside of the top — allowing the top to move slightly while keeping it firmly attached.
Space the fasteners evenly around the apron: two on each long side, one on each short side.
Sand the entire table — top, legs, and apron — to 220 grit. Pay particular attention to the top surface and to any glue squeeze-out at the joints.
Wipe down with a tack cloth to remove all dust.
Apply your chosen stain with a brush or cloth, working in the direction of the grain. Allow to dry fully.
Finish with two to three coats of hard-wax oil or polyurethane varnish. Sand lightly with 320 grit between coats. The final coat gives the table its durability and sheen.
Every step above is manageable. But the difference between a clean, satisfying build and a frustrating one comes down to a single factor: having exact measurements and sequences before you start.
The steps in this guide give you the process. What they can’t give you in an article is the precise cut list, the exact pocket hole positions, the specific fastener spacing, and the detailed diagrams that show each joint from every angle.
That’s what a full woodworking plan provides.
The DIGITRISER Woodworking Plans E-book includes a complete farmhouse dining table plan — with every dimension, every cut listed, and every assembly step illustrated. It also includes plans for a matching farmhouse bench, so you can complete the set.
[Download the DIGITRISER E-book and get the full farmhouse table plan today →]
Building a farmhouse dining table is one of the most satisfying projects in woodworking.
It takes a weekend. It uses straightforward tools and techniques. And it produces a piece of furniture that becomes the centrepiece of your home for years — possibly decades — to come.
You don’t need to be an expert woodworker. You need the right materials, a clear process, and a proper plan to guide every step.
Everything else is just putting the pieces together.
[Get your full farmhouse dining table plan from DIGITRISER and start building this weekend →]
How long does it take to build a farmhouse dining table?
A farmhouse dining table takes approximately one to two days to build, depending on your experience level and the complexity of the design. The glue-up of the tabletop requires overnight curing time, so most builders complete the base on day one and the top on day two. Finishing adds a further day of drying time between coats.
What is the best wood to build a farmhouse dining table with?
Pine is the most popular choice for a farmhouse dining table — it’s affordable, widely available, and has the rustic character that suits the style perfectly. For a more durable and premium result, oak is the top choice. It’s heavier and more expensive, but the surface stands up to daily family use far better than pine without a hard varnish coating.
Do I need a pocket hole jig to build a farmhouse dining table?
A pocket hole jig is strongly recommended but not strictly essential. It makes the apron-to-leg joints fast, strong, and clean. Without one, you can use dowels or mortise-and-tenon joints for the apron — both are structurally sound but require more skill and time to execute. For a beginner, investing $25–$40 in a basic pocket hole jig makes the build significantly more achievable.
We’re here to help! Whether you need guidance on choosing the right plans or have questions about our recommendations, our team is ready to assist. Reach out anytime—your success is our priority.