Best Way to Sand Furniture Before Painting




Digitriserkamal
2 May 2026
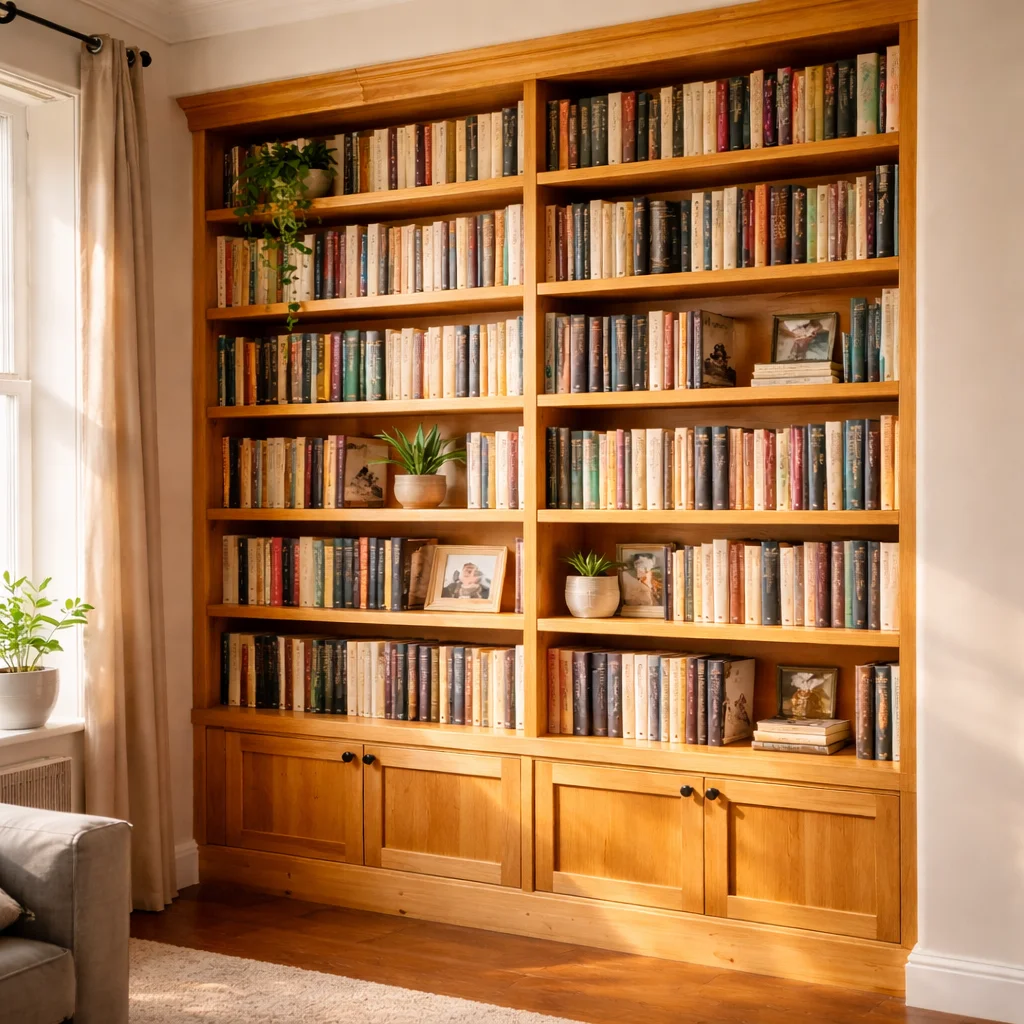
A bookshelf is one of the most satisfying pieces of furniture you can build yourself.
It’s visible. It’s used every day. And a well-built custom bookshelf — sized exactly for your books, your room, and your wall — looks a hundred times better than anything you’ll find flat-packed in a box.
The good news is that a bookshelf is also one of the most achievable beginner woodworking projects. You don’t need advanced joinery. You don’t need a workshop full of machinery. And you don’t need more than a weekend to go from raw timber to a finished piece standing in your living room.
This guide walks you through exactly how to build a custom bookshelf — the design decisions, the materials, the tools, and the step-by-step process.
Walk into any furniture store and the bookshelves fall into two categories: cheap and wobbly, or expensive and still not quite the right size.
A custom bookshelf solves both problems at once.
When you build your own, you control:
A handbuilt bookshelf also lasts far longer than flat-pack alternatives. Solid wood and quality joinery don’t delaminate, swell, or sag under the weight of a full row of books.
Before buying a single board, answer these four questions. They define the plan you need and the materials you buy.
Measure your wall space and ceiling height before designing anything. Standard bookshelves range from 180–210cm tall. Wider shelves (90–120cm) are more stable when well-braced. Narrower shelves (60–80cm) are more versatile in tighter spaces.
Write these measurements down. They drive every other decision.
Standard paperbacks need 20–22cm of depth. Hardcovers need 25–28cm. A shelf that’s too shallow tips books forward — both annoying and potentially unstable.
30cm is a reliable all-purpose depth that accommodates most book sizes comfortably and leaves a little space at the front.
Adjustable shelves use shelf pins inserted into a row of holes drilled in the side panels. They’re flexible — you can reconfigure the spacing as your collection changes.
Fixed shelves use a housing (dado) joint — a groove cut into the side panels into which each shelf fits. They’re stronger and more rigid, but not repositionable.
For a beginner, adjustable shelves are the more forgiving option. They’re faster to build and require no precise dado cutting.
A back panel — typically 9mm plywood — adds rigidity and prevents the bookshelf from racking sideways. It also creates a clean backdrop that makes the books stand out.
Without a back panel, the bookshelf relies entirely on the joints between the top, bottom, and sides for rigidity. It’s achievable, but requires a stronger frame construction.
For most beginner builds, a back panel is recommended.
These are approximate dimensions for a standard unit. The full cut list with exact tolerances, shelf pin hole spacing, and hardware specifications is available in the DIGITRISER Woodworking Plans E-book.
Work through the cut list in order. Cut the two side panels first — they’re the longest pieces and set the height of the unit.
Label each piece with a pencil as you cut it. Mark the inside face of each side panel with an arrow pointing upward — this prevents you from accidentally drilling shelf pin holes in the wrong face later.
Check each piece against the cut list before moving on. Don’t start assembly until every component is cut and verified.
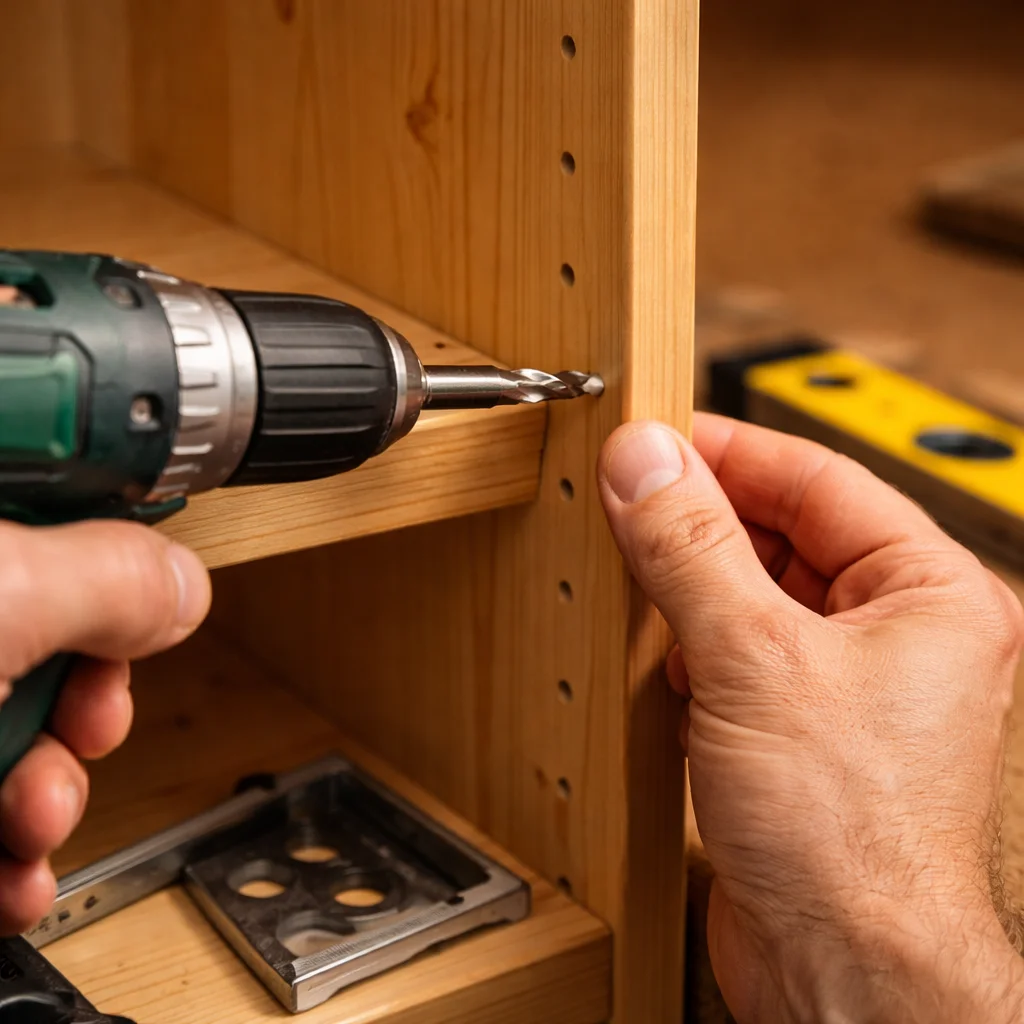
Mark two parallel rows of shelf pin holes on the inside face of each side panel. Space the holes 32mm apart (a standard shelf pin spacing) and position each row 40mm from the front and back edges.
Use a shelf pin drilling jig or a strip of pegboard as a template to keep the holes consistent. Drill to a depth of 12mm — most shelf pins insert 10mm, so 12mm gives a little clearance.
Consistent, accurate holes here mean shelves that sit level without shimming.
The carcass is the outer box — two sides, a top, and a bottom.
Drill pocket holes into the ends of the top and bottom panels. Apply wood glue to the joint faces. Position the top panel flush with the top of the side panels and drive pocket screws to pull the joint tight.
Repeat for the bottom panel, positioning it flush with the base.
Check the frame for square by measuring both diagonals. Both measurements must be identical. Adjust before the glue cures by pushing gently on the longer diagonal corner.
Lay the frame face-down on a flat surface. Drop the back panel into the rebate or against the back edges of the frame.
Check for square again — the back panel helps pull the frame square if it isn’t already. Nail the back panel through into the side, top, and bottom panels using 40mm finishing nails or a brad nailer, spacing nails every 200–250mm.
Once the back panel is fixed, the frame is rigid and ready for finishing.
Sand the entire unit — exterior faces, top, visible edges — working through 80, 120, 180, and 220 grit. Pay particular attention to the front edges of the side panels and any glue squeeze-out at the corner joints.
Wipe down with a tack cloth before applying finish.
For a painted finish: apply a coat of primer, sand lightly with 220 grit, then apply two coats of interior paint in your chosen colour.
For a natural or stained finish: apply stain if desired, allow to dry, then finish with two coats of hard-wax oil or satin varnish.
Position the bookshelf against the wall. Check it’s level front-to-back and side-to-side using a spirit level.
For a unit taller than 120cm, fix it to the wall with a anti-tip strap or L-bracket into a wall stud. This is a safety requirement — a fully loaded bookshelf is heavy and can tip forward if not secured.
Insert the shelf pins at your chosen height, lay in the adjustable shelves, and load your books.
The steps above cover the process. What they can’t give you in an article is the precision that a complete plan provides — the exact pocket hole positions, the shelf pin hole spacing template, the specific hardware dimensions, and the tolerances at every joint.
That level of detail is what separates a bookshelf that goes together cleanly from one that requires repeated adjustments and rework.
The DIGITRISER Woodworking Plans E-book includes a complete custom bookshelf plan in three sizes — compact (60cm wide), standard (90cm wide), and wide (120cm wide). Every dimension is calculated, every cut is listed, and every assembly step is illustrated.
A custom bookshelf built in a weekend is entirely achievable — and the result is a piece of furniture that transforms a room and lasts for decades.
Measure your space. Choose your design. Buy exactly the right materials. Follow the plan from first cut to final finish.
By Sunday evening, your books will have a home that fits them perfectly.
And you’ll have built it yourself.
[Get your DIGITRISER woodworking plans and start your custom bookshelf build today →]
How long does it take to build a custom bookshelf from scratch?
A standard custom bookshelf takes one full day of active build time for a beginner — typically six to eight hours including cutting, assembly, and sanding. Add a second day for painting or finishing, since each coat needs time to dry between applications. Working from a complete plan with a cut list reduces build time significantly by eliminating pauses to measure, calculate, or troubleshoot.
What thickness of wood should I use to build a bookshelf?
18mm (¾ inch) is the standard thickness for bookshelf sides, tops, and fixed shelves. This thickness provides sufficient rigidity to hold the weight of a full row of books without sagging. For adjustable shelves longer than 80cm, consider 25mm (1 inch) thickness to prevent bowing under load. The back panel can be thinner — 9mm plywood is standard for a structural back.
Do I need a pocket hole jig to build a bookshelf?
A pocket hole jig is the fastest and most beginner-friendly method for assembling a bookshelf carcass. It creates strong, clean joints quickly and requires only a drill. Alternatives include dowel joints (strong but require precise alignment) or biscuit joints (require a biscuit joiner tool). For a first bookshelf build, a pocket hole jig is the recommended choice — basic models cost $25–$40 and are useful on every subsequent project.
We’re here to help! Whether you need guidance on choosing the right plans or have questions about our recommendations, our team is ready to assist. Reach out anytime—your success is our priority.