DIY Wooden Cabinet Plans for Every Room


Digitriserkamal
9 April 2026
You want to start woodworking — but every project you find online looks impossibly complicated. The plans are full of advanced joints, expensive tools, and technical jargon that makes you feel like you need a decade of experience just to build a shelf.
Here’s the truth: you don’t. Woodworking is one of those skills where the right starting point makes all the difference. Choose the wrong first project and you’ll get frustrated and quit. Choose the right one and you’ll be hooked for life.
That’s exactly why we put together this list. These 10 projects are designed specifically for beginners — meaning no complicated joinery, no specialist tools, and no prior experience needed. Each one gives you a real, finished object you’ll actually use or display in your home. And most can be completed in a single weekend.
Before we dive into the list, it helps to know what you’re looking for. A genuinely beginner-friendly woodworking project has three qualities:
Every project on this list passes all three tests.
A wooden serving tray is the perfect first project — small, practical, and genuinely impressive when done well. You’re essentially building a flat rectangle with two handles, which means almost all your cuts are straight lines.
Use pine or oak for durability. A standard tray runs about 18 inches long by 12 inches wide, with 2-inch side rails and simple cut-out handles at each end. Sand it smooth, apply a food-safe finish, and you have something that looks like it came from a boutique kitchen store.
Time: 1–2 hours | Tools needed: Saw, sandpaper, drill | Skill gained: Basic cuts, sanding, finishing
The full plan with exact measurements and a cut list is available inside the DIGITRISER Woodworking Plans E-book.
A two-shelf wall-mounted bookshelf is one of the most satisfying beginner builds because it’s functional from day one. The design is straightforward: two horizontal shelves, two vertical side supports, and a back panel for rigidity.
The key advantage here is that every single cut is a straight line. There are no angles, no curves, and no complex joints. You’ll use pocket screws to connect the pieces and wall anchors to mount it securely. Choose pine boards from your local hardware store — they’re inexpensive and easy to cut cleanly.
Time: Half a day | Tools needed: Drill, saw, level, wall anchors | Skill gained: Squareness, wall mounting, pocket screws
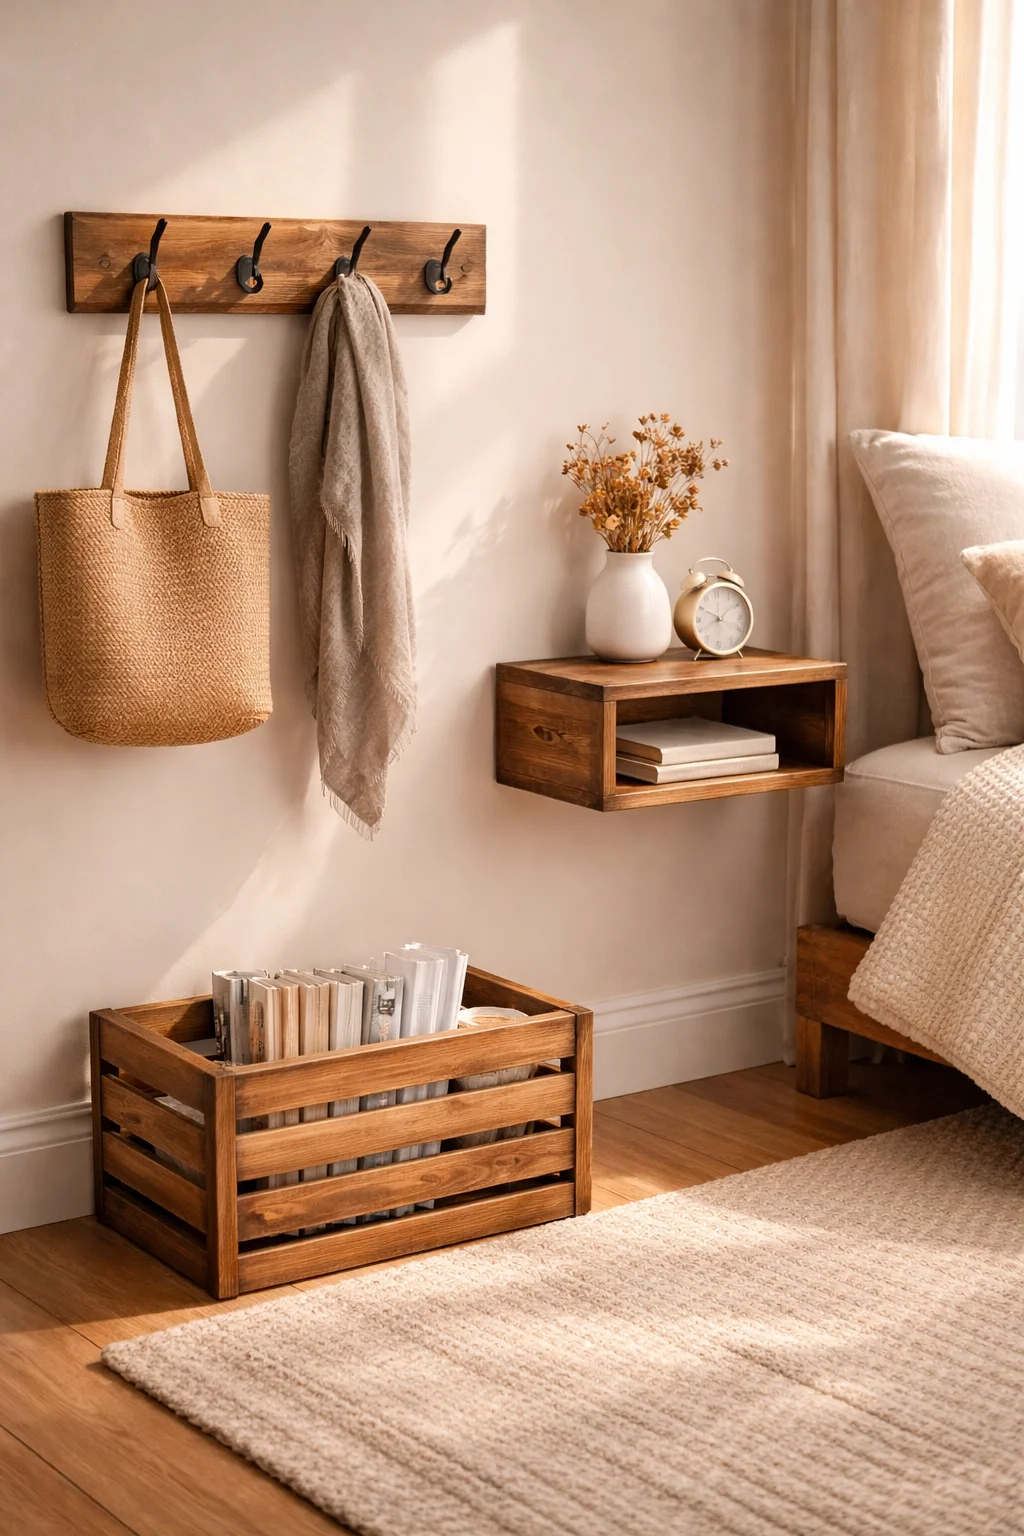
Floating furniture looks expensive and architectural, but it’s surprisingly simple to build. A floating bedside table is essentially a wall-mounted box — three panels of wood (top, bottom, and one side), with a hidden wall bracket holding it in place.
This project works especially well in small bedrooms and apartments where floor space is precious. Pine plywood is ideal for this build. Cut your three panels, assemble them with wood glue and screws, sand the edges flush, and paint or stain to your taste. The bracket mounts to a wall stud for a clean, minimal look.
Time: Half a day | Tools needed: Drill, saw, stud finder, level | Skill gained: Box construction, hidden mounting
If you want a woodworking project with an outdoor payoff, a garden planter box is hard to beat. Cedar is the material of choice here — it’s naturally rot-resistant, affordable, and looks beautiful weathered or stained.
A basic planter is a rectangular box with a false bottom sitting about an inch above the true base to allow drainage. You’ll drill a series of drainage holes, add optional feet to raise it off the ground, and finish it with an exterior wood oil. This is also a great project to customise — vary the dimensions to fit a windowsill, a patio, or a garden bed.
Time: Half a day | Tools needed: Saw, drill, exterior screws | Skill gained: Outdoor joinery, water-resistant finishing
Don’t let the mitre cuts put you off — a picture frame is one of the best beginner projects precisely because it teaches you the most important angle in woodworking: 45 degrees. Every furniture joint eventually brings you back to this skill.
You need only four pieces of moulding or flat timber, cut at 45° at each end, and joined with wood glue and small finishing nails. A standard 8×10 frame can be built in under an hour. Sand the faces smooth, stain or paint, and finish with a wax coat. This also makes an excellent handmade gift.
Time: Under 1 hour | Tools needed: Mitre saw or hand saw with mitre box, clamps, sandpaper | Skill gained: Mitre cuts, clamping, precision
Ready to build any of these projects tonight? The DIGITRISER Woodworking Plans E-book contains the full plan for every project on this list — exact measurements, cut lists, material quantities, and step-by-step instructions with diagrams. No guesswork, no wasted wood. [Download the e-book and start building →]
A step stool is one of the few projects on this list that your whole family will use daily. It’s also a project where accuracy really matters — a wobbly step stool is a safety risk, not a feature — which is exactly why having a proper plan makes a difference.
The classic design has two legs (cut as angled side panels), two rungs (the steps), and a brace underneath for rigidity. Pine is the standard choice, but hardwoods like maple or oak will hold up better to years of use. Finish with a non-slip paint or grip pads on the feet.
Time: Half a day | Tools needed: Jigsaw or circular saw, drill, clamps | Skill gained: Angled cuts, load-bearing joinery
This is the quick-win project for anyone who wants a result in an afternoon. A phone and tablet stand is three pieces of wood — a base, a back support, and a small lip at the front — assembled with glue and a couple of small screws.
The angle of the back support is the only tricky part, and a good plan makes that trivial. Use a hardwood offcut for a premium look, or pine for a rustic feel. Sand everything to 220 grit and apply a clear oil for a natural finish. Place it on your desk and you’ll use it every day.
Time: 1–2 hours | Tools needed: Saw, drill, sandpaper | Skill gained: Angle assembly, finishing for daily-use pieces
A coat rack is the definition of a one-board project. You need a single length of timber (roughly 24–36 inches), three to five metal hooks, wall anchors, and about two hours of your time.
The charm of this project is in the wood choice and finish. A rough-sawn pine board with a dark walnut stain gives an instant farmhouse look. A smooth white oak board with a natural oil finish feels modern and Scandinavian. Sand the face, round the corners slightly, mount your hooks at even intervals, and hang it. The plan tells you exactly where to position the hooks so spacing looks intentional, not guessed.
Time: 1–2 hours | Tools needed: Drill, sandpaper, hooks, wall anchors | Skill gained: Hardware installation, decorative finishing
Storage crates are one of the most versatile projects in this entire list — build one and you’ll want to build three more. A simple slatted crate can live in a living room holding magazines, in a bathroom with towels, in a child’s bedroom with toys, or in the kitchen with produce.
The construction is a rectangle of four solid panels with a slatted base, and optionally a handle cut-out on the short sides. Pine boards are ideal. The real reward here is building a matching set — once you’ve cut the first one, duplicating the process for two more takes very little extra time.
Time: Half a day | Tools needed: Saw, drill, sandpaper | Skill gained: Repetitive production, consistent sizing
We’ve saved the most aspirational project for last — and deliberately so. By the time you’ve worked through a few of the projects above, a coffee table stops feeling impossible and starts feeling like the natural next step.
A beginner-friendly coffee table has four legs, two long side rails, two short end rails, and a top panel. That’s seven pieces of wood and one afternoon of work. Pine is the affordable choice; oak gives a premium result. The joinery is pocket screws throughout, which means no complicated cutting and no specialist tools.
This is the project that makes people stop you in your living room and ask, “Did you build that yourself?” Yes. Yes you did.
Time: Full day | Tools needed: Drill, pocket hole jig, saw, clamps | Skill gained: Frame construction, tabletop assembly, full-piece finishing
Every project on this list was chosen because it builds a real skill, produces a result you’ll be proud of, and can be completed without a professional workshop or expensive equipment.
But here’s the thing that separates a frustrating afternoon from a genuinely enjoyable one: having a proper plan. Knowing the exact measurements before you buy wood means no wasted trips to the hardware store. A clear cut list means you make every cut with confidence. Step-by-step instructions mean you never hit a wall wondering “what comes next?”
The DIGITRISER Woodworking Plans E-book contains full plans for all 10 projects in this post — plus dozens more for when you’re ready to go further. Every plan includes:
[Get the DIGITRISER E-book and start your first project today →]
What tools do I need to start woodworking?
For the projects on this list, you’ll get by with a hand saw or circular saw, a cordless drill, sandpaper (80, 120, and 220 grit), clamps, a tape measure, and a pencil. That’s it. You don’t need a workshop full of machinery to build beautiful things.
How long does a beginner woodworking project take?
The smaller projects on this list (serving tray, picture frame, phone stand) can be done in one to two hours. Mid-size projects like the bookshelf or planter box take a half day. The coffee table is a full day’s work. Build time gets faster as your confidence grows.
What is the easiest type of wood to work with?
Pine is the universal recommendation for beginners. It’s cheap, widely available, lightweight, and easy to cut cleanly. It dents more easily than hardwoods, but for practice projects and painted pieces it’s ideal. Once you’re comfortable with pine, move on to poplar or oak for more refined results.
Do I need a proper workshop to start woodworking?
Not at all. Many of the projects on this list can be built on a kitchen table, a workbench in a garage, or even outdoors on a dry day. A pair of sawhorses and a flat surface is all you really need to get started.
Are digital woodworking plans better than buying books?
Digital plans like those in the DIGITRISER e-book give you instant access on any device, let you zoom into diagrams, and mean you can pull up your plan mid-build without flipping pages. They’re also considerably cheaper than printed books for the amount of content you get.
We’re here to help! Whether you need guidance on choosing the right plans or have questions about our recommendations, our team is ready to assist. Reach out anytime—your success is our priority.