DIY Wooden Cabinet Plans for Every Room


Digitriserkamal
21 April 2026

You’ve spent a weekend building a beautiful piece of furniture. Now comes the decision that determines how it actually looks: the finish.
Choose the right wood finish and your project glows. The grain comes alive, the colour deepens, and the surface becomes tough enough to handle years of daily use. Choose the wrong one and even a well-built piece can look flat, feel sticky, or fail within months.
This guide covers the best wood finishes and stains for indoor furniture — what each one does, when to use it, and how to apply it correctly. Whether you’re finishing a dining table, a bookshelf, or a bedside cabinet, this is everything you need to know.
A wood finish does two things at once. It protects the timber from moisture, heat, and daily wear. And it defines how the piece looks — its colour, sheen, and depth.
Getting it right matters more than most beginners realise. A poorly applied finish doesn’t just look bad — it can be difficult or impossible to correct without stripping the entire piece back to bare wood.
The good news is that choosing the right finish is straightforward once you understand the options. There are four main types used on indoor furniture:
Each has its place. Let’s go through them in detail.
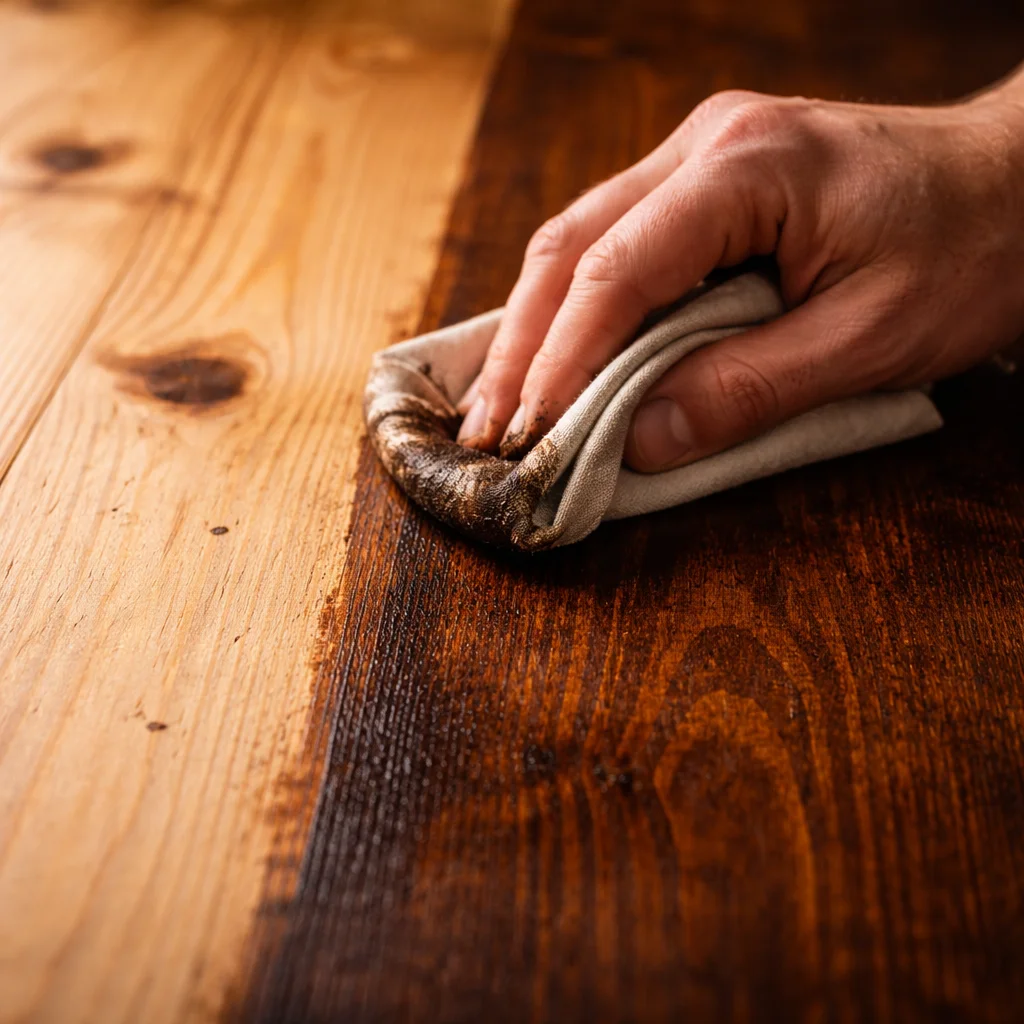
An oil finish penetrates into the wood fibre rather than sitting on top of the surface. It enhances the natural grain and gives timber a warm, tactile feel that film finishes can’t match.
The most common options are:
How to apply oil finishes:
Oil finishes are the most forgiving for beginners. They’re easy to apply evenly, and mistakes wipe off before they cure.
Wax gives timber a soft, low-sheen finish with a beautiful hand-feel. It’s one of the oldest wood finishes in history — and still one of the most popular for traditional and rustic furniture.
The most common option is furniture wax (beeswax-based or carnauba). Coloured waxes can also add a subtle tint while finishing simultaneously.
Wax is easy to apply and easy to repair — scratches and dull patches can be buffed out and re-waxed locally without refinishing the whole piece. However, it offers limited protection against heat, moisture, and heavy use.
Best used for: decorative pieces, bedroom furniture, pieces that won’t see heavy daily use.
How to apply wax:
Avoid wax on dining tables or kitchen surfaces. It won’t withstand hot plates or wet glasses.
Varnish and lacquer form a hard, protective film on the surface of the wood. They offer the highest level of protection against moisture, heat, and daily wear — making them the best choice for high-use furniture.
The main options are:
How to apply varnish:
Varnish requires more care to apply without brush marks or bubbles — but the protection it provides on a dining table or desk is unmatched.
A stain is not a finish in itself — it adds colour to the timber before the protective finish is applied.
Stains come in a huge range of tones, from light honey and golden oak through to deep ebony and walnut. They allow you to change or deepen the colour of the timber without hiding the natural grain.
The most important rule with stains: test on an offcut first. The same stain produces very different results on pine versus oak versus walnut.
Types of stain:
How to apply stain:
Different pieces need different finishes. Here’s a quick reference guide:
Even experienced woodworkers make these errors. Knowing them saves you a frustrating re-sand:
Take your time with the finish. It’s the last step — and the one that defines the result.
A beautiful finish starts with a well-built piece. And a well-built piece starts with a proper woodworking plan.
Every DIGITRISER woodworking plan includes finishing recommendations specific to the project — the right stain, the right finish type, and the right application sequence for the timber species used. No guesswork. Just a clean, confident result from the first coat to the last.
[Download the DIGITRISER Woodworking Plans E-book and finish your next project with confidence →]
The right wood finish turns a good build into a great one.
Understand the difference between oils, waxes, varnishes, and stains. Match the finish to the function of the piece. Prepare the surface carefully and apply in thin, even coats.
Do that, and every project you build will look as good in ten years as it does on the day you finish it.
[Get your DIGITRISER woodworking plans and build something worth finishing today →]
What is the best finish for indoor wood furniture?
The best finish depends on how the piece will be used. For dining tables and desks that take heavy daily use, hard-wax oil or polyurethane varnish gives the most durable protection. For bedroom furniture and shelving with lighter use, Danish oil or furniture wax provides a beautiful natural finish with sufficient protection. Always match the finish to the function.
What is the difference between wood stain and wood varnish?
A wood stain adds colour to the timber but provides no protective layer on its own. A varnish forms a hard protective film on the surface that resists moisture, heat, and wear. In most projects, stain is applied first to achieve the desired colour, then a protective finish — varnish, oil, or lacquer — is applied on top to seal and protect the surface.
How many coats of finish does indoor wood furniture need?
Most indoor furniture needs two to three coats of finish for adequate protection. The first coat seals the grain and is sanded back lightly before the second. A third coat on high-use surfaces like dining tables and desktops adds significant durability. Always follow the specific product manufacturer’s instructions for drying times and the recommended number of coats.
We’re here to help! Whether you need guidance on choosing the right plans or have questions about our recommendations, our team is ready to assist. Reach out anytime—your success is our priority.