DIY Wooden Cabinet Plans for Every Room


Digitriserkamal
23 April 2026
You don’t need a professional workshop to start woodworking.
That’s the myth that stops more beginners than any other. The idea that you need a dedicated space, a full set of machinery, and thousands of dollars before you can build anything worthwhile.
The reality is completely different. Some of the most impressive woodworking is done in garages, garden sheds, and spare rooms — on a budget that most people can manage without a second thought.
This guide shows you exactly how to set up a woodworking workshop on a budget. Space planning, essential equipment, smart buying decisions, and safety considerations — everything you need to start building in a space that actually works.
Most beginners spend their budget on tools and nothing on the workspace itself.
That’s a mistake. A disorganised, poorly lit, unsafe workspace slows you down, costs you accuracy, and makes the whole experience frustrating. Conversely, a well-planned workshop — even a small one — makes every build faster, safer, and more enjoyable.
Before you buy a single tool, think about the space.
A good workshop doesn’t need to be large. It needs to be:
Get these fundamentals right and the size of the space becomes secondary.
The most common workshop locations for beginners are:
A garage is the ideal workshop space. It typically offers:
The main challenge with a garage workshop is temperature. In cold climates, an unheated garage is uncomfortable in winter. A small electric heater and good insulation on the door address this affordably.
A shed works well for a compact workshop, particularly if your projects are small to medium in size.
Upgrade the lighting before anything else — most garden sheds are poorly lit. Add a double waterproof socket and consider lining the walls with OSB board to create a surface for mounting tool storage.
Ventilation is critical in a shed. Add a vent or a small extractor fan to manage dust and moisture.
An indoor workshop is excellent for year-round working — but dust management becomes the primary concern.
Invest in a dust extractor and connect it to every power tool you use. Seal the door with a draught excluder when working. A good respirator is non-negotiable for indoor working.
Hard floors are easier to clean than carpet — consider a hard floor covering if the room is carpeted.
A solid, stable workbench is the single most important piece of workshop furniture you own.
You don’t need to buy one. Building your own workbench is actually an excellent first woodworking project. A simple torsion box or frame bench made from construction timber costs $50–$80 in materials and takes a day to build.
Key workbench specifications for a beginner:
A vice costs $30–$80. It’s one of the best investments you make in your workshop.
Good lighting in a woodworking workshop is not optional. It’s a safety requirement.
Natural light is ideal — position your workbench near a window where possible. For artificial lighting, LED strip lights or LED shop lights are the most cost-effective upgrade you can make.
Aim for:
Two LED shop light strips (around $25–$40 each) transform a dark garage or shed into a genuinely usable workspace.
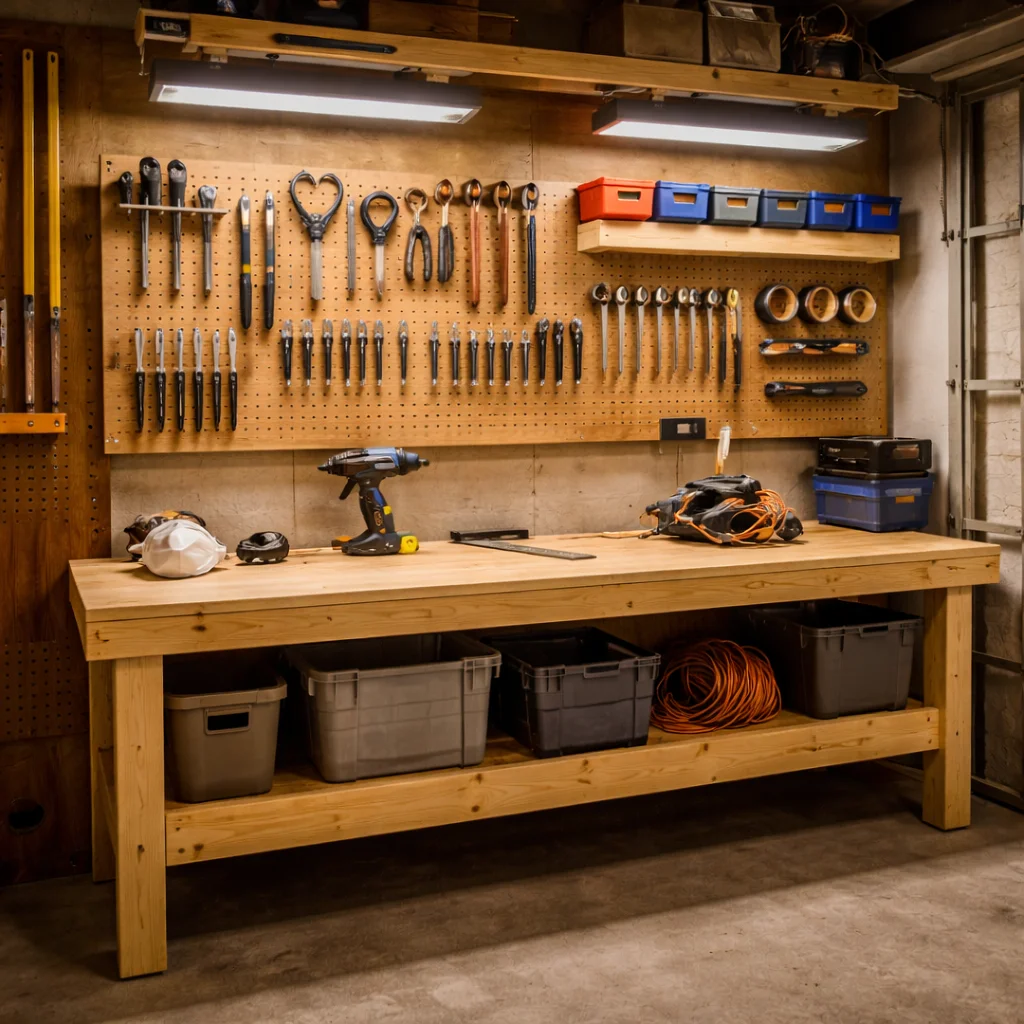
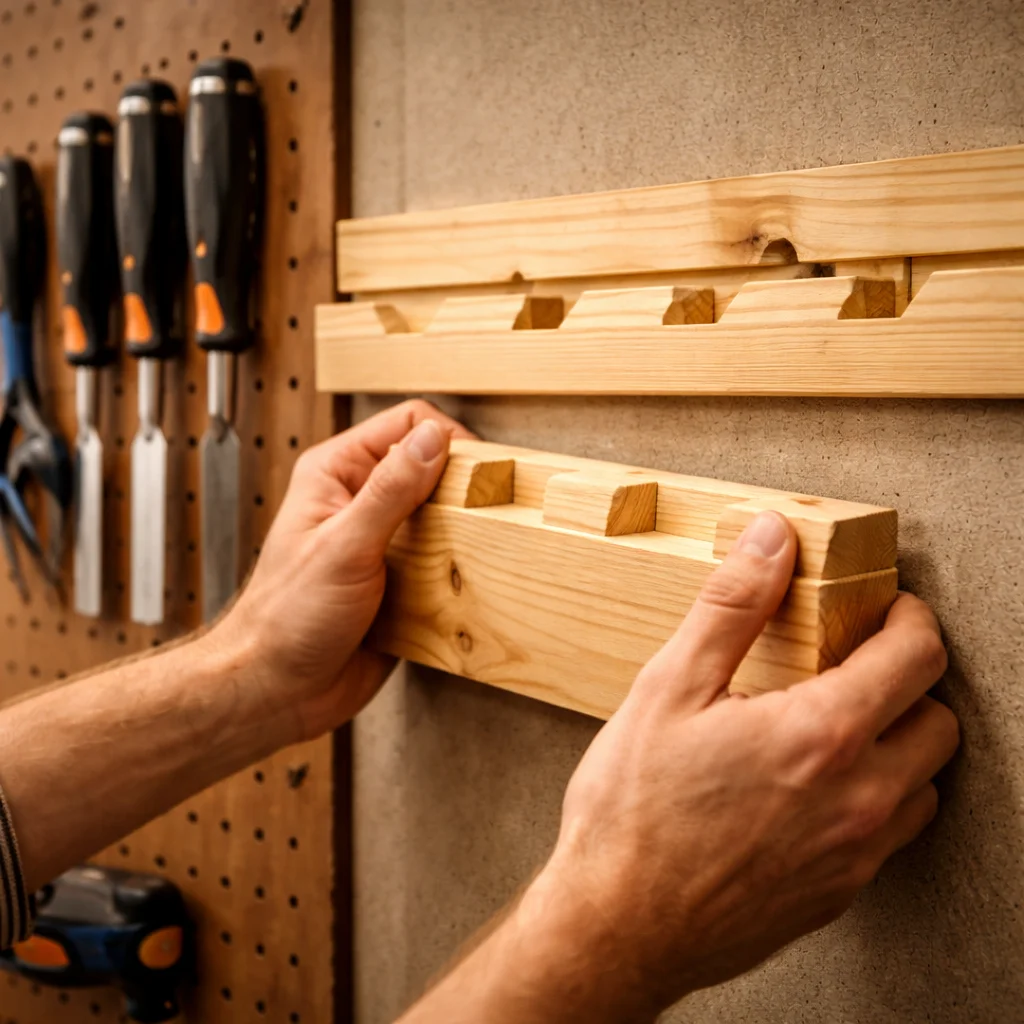
An organised workshop is a productive workshop. Tools that are hard to find don’t get used. Tools left lying on surfaces create hazards.
Budget-friendly storage solutions that work:
Whatever system you choose, assign every tool a specific home. Return tools to their home after every use. This habit costs nothing and saves significant time.
Wood dust is the most overlooked hazard in a beginner workshop. Fine particulate — especially from sanding — accumulates in lungs over time and causes serious respiratory conditions.
Set up dust management before your first build:
A basic dust extractor hose connection costs very little. The health benefit it provides over years of woodworking is enormous.
One of the smartest decisions you can make when setting up a budget workshop is to buy tools as you need them — not all at once.
Start with the absolute essentials:
Add tools as specific projects require them. A router when you need to cut grooves. A jigsaw when you need curves. A pocket hole jig when you start building frames.
This approach keeps your initial investment low, ensures every tool you own gets used, and prevents the common beginner mistake of buying tools that sit unused on a shelf.
A functional starter workshop can be set up for $200–$350 including bench, lighting, basic tool storage, and a core set of hand and power tools.
A well-set-up workshop makes building easier. But the real efficiency gain comes from knowing exactly what you’re building before you start.
A proper woodworking plan tells you which tools you need, what cuts to make, and in what sequence to assemble the piece. It eliminates the standing-and-thinking time that fills an unorganised build session.
Every DIGITRISER woodworking plan is written with the home workshop builder in mind. No specialist machinery. No industrial-scale setups. Just clear instructions for real projects in real spaces.
[Download the DIGITRISER Woodworking Plans E-book and put your new workshop to work immediately →]
Setting up a woodworking workshop on a budget is entirely achievable. You need a clear space, good light, a solid workbench, organised storage, and a basic tool kit.
None of that requires a large investment. Most of it can be done in a weekend.
Once your workshop is ready, the only thing left to do is start building.
Pick a project. Follow a plan. Make something you’re proud of.
[Get your DIGITRISER woodworking plans and start your first workshop build today →]
How much does it cost to set up a basic woodworking workshop at home?
A functional beginner woodworking workshop can be set up for $200–$400 in total. This covers a homemade workbench ($50–$80 in materials), basic tool storage ($30–$50), improved lighting ($50–$80), a starter tool kit ($150–$200), and basic safety equipment ($20–$30). Costs vary depending on what you already own and the size of your space.
Do I need a dedicated room to set up a woodworking workshop?
No — a dedicated room is not necessary. Many excellent home workshops are set up in one half of a garage, in a garden shed, or even in a basement. The key requirements are adequate floor space for a workbench, good lighting, access to power, and ventilation to manage wood dust. A 3m × 3m space is enough for most beginner and intermediate projects.
What is the most important thing to set up first in a woodworking workshop?
The workbench is the single most important element of any woodworking workshop. Without a solid, stable surface to work on, every task becomes harder and less accurate. Set up your workbench first — ideally building it yourself as your first project — and everything else in the workshop organises around it.
We’re here to help! Whether you need guidance on choosing the right plans or have questions about our recommendations, our team is ready to assist. Reach out anytime—your success is our priority.