Best Way to Sand Furniture Before Painting




Digitriserkamal
5 May 2026
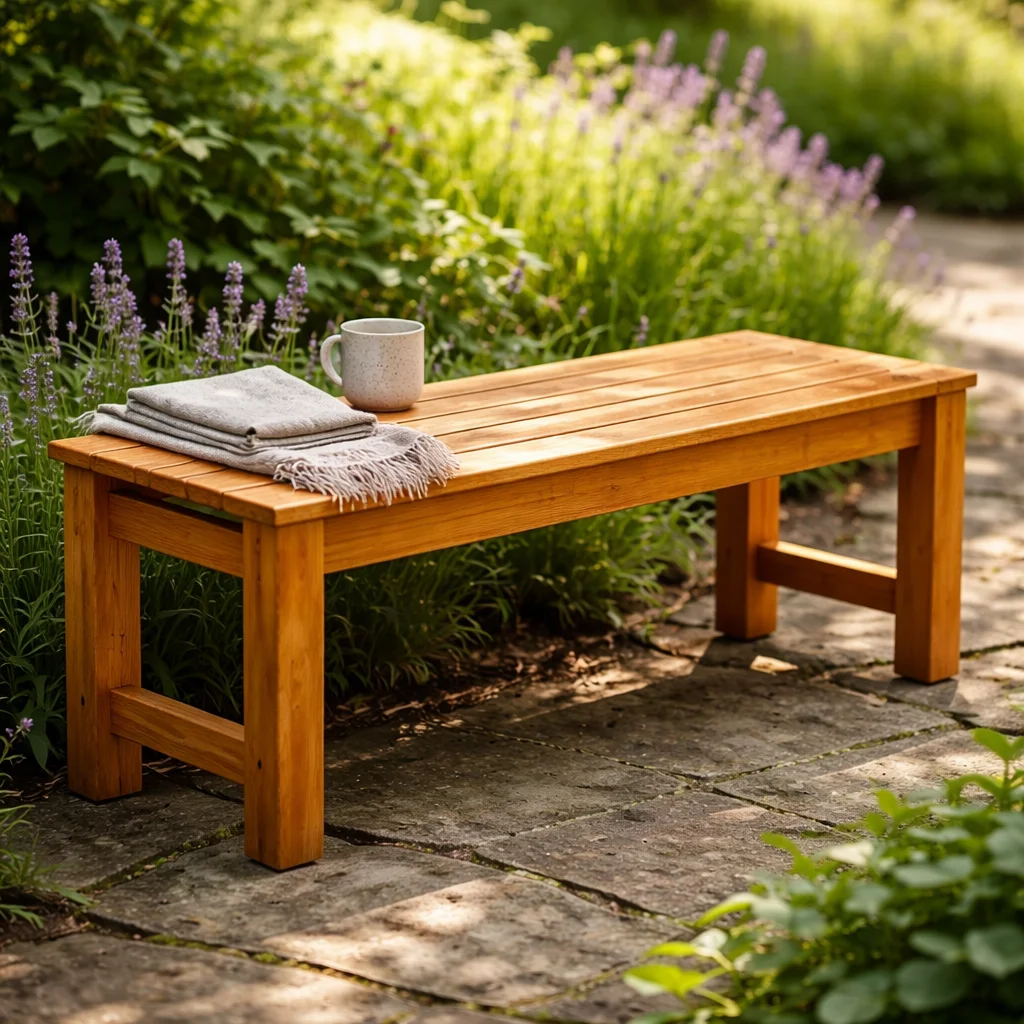
There’s something deeply satisfying about sitting on a bench you built yourself.
Spring and summer are the seasons when outdoor living comes into its own — and a solid wooden garden bench is one of the simplest, most impactful additions you can make to any outdoor space. A patio, a garden path, a deck, a shaded corner of the yard — a well-placed bench transforms all of them.
The good news is that a DIY garden bench is one of the most achievable outdoor woodworking projects there is. This guide covers everything you need to start: the right materials, the exact tools, a realistic time estimate, and a step-by-step overview of how the build comes together.
As temperatures rise and outdoor time increases, the garden bench becomes one of the most-used pieces of furniture you own.
Building your own rather than buying one gives you several clear advantages:
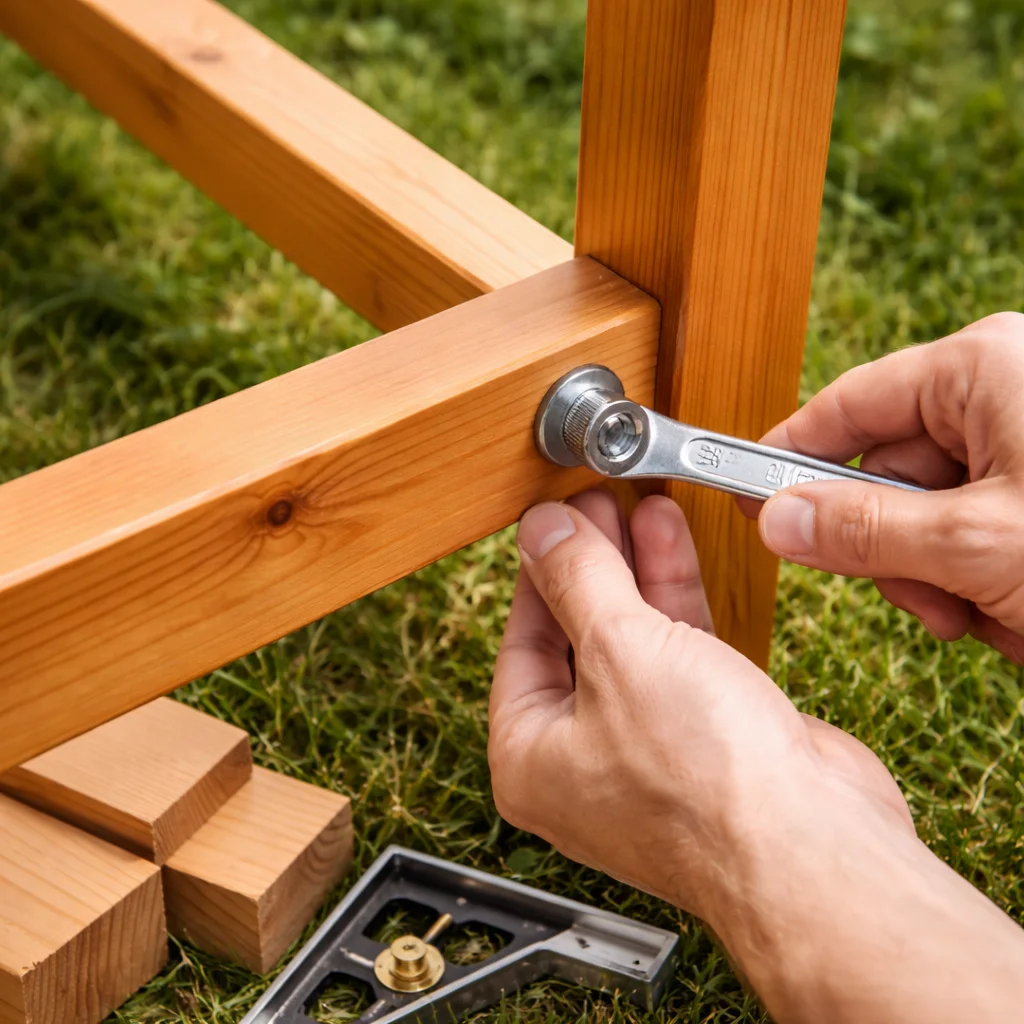
A DIY garden bench is also one of the most beginner-friendly outdoor projects you can tackle. The joinery is straightforward, the tools are basic, and the result is immediately functional and visually impressive.
Material selection is the most important decision you make before building any outdoor project. The wrong timber deteriorates quickly. The right one lasts for years with minimal maintenance.
Here are the main options for a DIY garden bench.
Cedar is the top recommendation for most DIY garden bench builds.
It’s naturally resistant to rot, moisture, and insects — without any chemical treatment. It’s lightweight and easy to cut. It’s widely available at most hardware stores. And it has a beautiful, warm tone that looks excellent both freshly oiled and weathered to silver grey.
Western red cedar is the premium variety. It has a fine, straight grain and is exceptionally durable outdoors. Northern white cedar is slightly less dense but equally rot-resistant and more affordable in some regions.
Best for: most garden bench builds where appearance, durability, and workability are all priorities.
Pressure-treated pine is pine that has been chemically treated to resist rot and insect damage. It’s the most affordable outdoor timber option and is widely used for structural garden applications.
It’s heavier than cedar, slightly harder to cut cleanly, and the chemical treatment gives it a greenish tint that weathers over time. Many builders use pressure-treated timber for the hidden structural frame of a bench — legs and rails — and a more attractive timber for the visible seat slats.
Best for: structural elements where cost matters more than appearance.
Teak is the premium outdoor timber. It’s exceptionally durable, naturally oily, and handles prolonged moisture exposure better than almost any other species. A well-built teak bench lasts decades with nothing more than an annual oil.
The limitation is cost — teak is significantly more expensive than cedar or pine. It’s also denser and harder to work with for beginners. For a first bench build, cedar delivers 80% of the result for 30% of the cost.
Best for: builders who want a genuinely long-term investment piece and are comfortable with a higher material cost.
Oak is a strong, dense hardwood that performs well outdoors when properly finished with an exterior oil or sealant. It’s heavier than cedar but produces a beautiful, characterful bench with a grain that looks exceptional when oiled.
It’s more affordable than teak and more visually interesting than treated pine. For a bench where appearance matters as much as durability, oak is an excellent choice.
Best for: builders who want a premium hardwood result without paying teak prices.
The following materials list covers a classic two-seater garden bench — approximately 150cm long, with a slatted seat, a slatted back, and four straight legs.
All dimensions are in millimetres. Adjust length to suit your space.
Timber:
Hardware:
Finishing:
The exact cut list with precise tolerances, screw positions, and hardware specifications for multiple bench sizes is available in the DIGITRISER Woodworking Plans E-book.
You don’t need a fully equipped workshop for this project.
The following tools cover everything:
Optional but useful:
This is the question most builders ask before starting. Here’s an honest breakdown.
Stage | Time estimate |
Reading and understanding the plan | 20–30 min |
Marking and cutting all timber to size | 1–1.5 hrs |
Assembling the leg frames | 45–60 min |
Fitting the seat rails and checking for square | 30–45 min |
Attaching seat slats | 30–45 min |
Building and attaching the back | 45–60 min |
Sanding the complete bench | 45–60 min |
Applying first coat of finish | 20–30 min + drying time |
Applying second coat | 20 min + drying time |
Total active build time: approximately 5.5–8 hours Spread across: one full day for the build, one short session for the second coat of finish
A beginner working from a complete plan should comfortably finish the bench in a single day, with finish coats applied the following morning.
The most common reason builds take longer than expected is not having a complete cut list before starting. Stopping to measure, calculate, and re-measure individual pieces mid-build adds significant time. Working from a plan that pre-calculates every dimension removes this entirely.
Work through the cut list in order. Cut the legs first, then the rails, then the slats. Label each piece with a pencil as you cut it.
Check every piece against the cut list before moving to assembly. Cutting all components first — rather than cutting and assembling piece by piece — is significantly faster.
Each end frame consists of two legs connected by a short side seat rail and a short lower stretcher for rigidity.
Apply exterior wood glue to the joint faces. Drill pilot holes to prevent splitting. Drive 75mm screws to pull the joints tight. For maximum strength, bolt through the leg-to-rail connection with M8 bolts.
Check each frame for square before the glue sets.
Stand both end frames upright. Fit the long front and back seat rails between them, gluing and screwing at each corner.
Check that the frame sits flat on a level surface — adjust the leg positions before the glue cures if needed.
Space the seat slats evenly across the seat rails — a consistent 8–10mm gap between slats allows drainage and provides a comfortable feel underfoot.
Use a spare piece of 10mm timber as a spacer to maintain consistent gaps. Drill pilot holes and countersink each screw so heads sit flush with the slat surface.
Fix the two back uprights to the rear legs. Attach the top rail across the uprights. Space the back slats evenly, fixing them to the top rail and the rear seat rail.
Sand the complete bench — starting with 80 grit on any rough faces, progressing to 120 and 180 grit on all visible surfaces.
Wipe clean with a damp cloth and allow to dry fully. Apply two coats of exterior oil or paint, following the manufacturer’s recommended drying time between coats.
The overview above gives you the structure of the build. What it can’t give you in an article format is the exact measurements, the precise screw positions, the specific hardware dimensions, and the joinery details that make the difference between a bench that goes together cleanly and one that requires repeated adjustment.
That’s exactly what a full woodworking plan provides.
The DIGITRISER Woodworking Plans E-book includes a complete DIY garden bench plan in three sizes — compact (120cm), standard (150cm), and family (180cm) — with full cut lists, hardware specifications, and assembly diagrams.
A DIY garden bench is the ideal spring and summer project — meaningful to build, beautiful when finished, and genuinely useful every day of the warmer months.
Choose the right timber. Gather your tools. Set aside a Saturday.
Follow a plan that gives you every measurement and every step in the right order — and by Sunday, you’ll be sitting on something you made yourself.
That’s worth every hour at the workbench.
[Get your DIGITRISER woodworking plans and build your garden bench this season →]
What is the best wood for a DIY garden bench?
Cedar is the best overall choice for a DIY garden bench. It’s naturally rot-resistant, lightweight, easy to cut, and widely available. It requires minimal maintenance — an annual coat of exterior oil keeps it looking excellent for years. For a more premium result, oak and teak are both excellent choices. Avoid untreated pine for outdoor use — it absorbs moisture quickly and deteriorates within a couple of seasons.
How long does it take to build a garden bench from scratch?
A standard DIY garden bench takes approximately 6–8 hours of active build time for a beginner — typically one full day of work. Finish coats add a further session the following day once the first coat has dried. Working from a complete woodworking plan with a pre-calculated cut list significantly reduces build time by eliminating the measuring and calculation pauses that slow down unplanned builds.
Do I need power tools to build a garden bench?
No — a DIY garden bench can be built entirely with hand tools. A hand saw, a cordless drill, a tape measure, a combination square, clamps, and sandpaper cover everything the build requires. Power tools like a circular saw and an orbital sander make the process faster and easier, but they’re not essential. Many excellent garden benches have been built on a pair of sawhorses with nothing more than a hand saw and a drill.
We’re here to help! Whether you need guidance on choosing the right plans or have questions about our recommendations, our team is ready to assist. Reach out anytime—your success is our priority.