DIY Wooden Cabinet Plans for Every Room


Digitriserkamal
2 March 2026
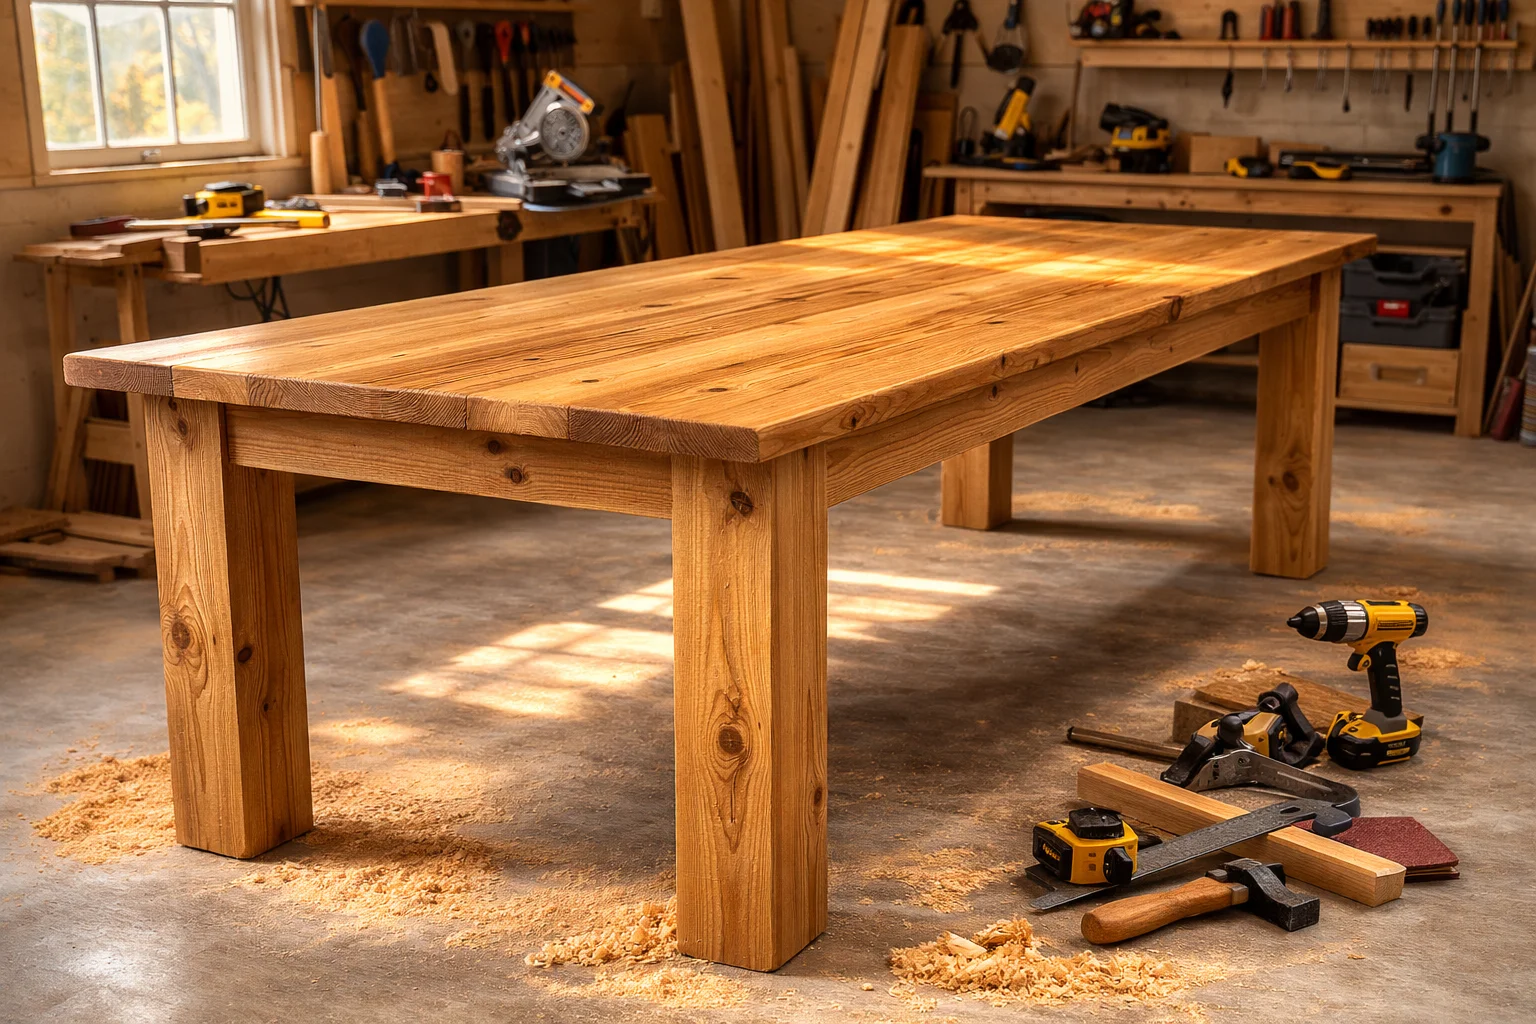
There’s something deeply satisfying about sitting down to a meal at a table you built with your own hands. If you want to build a farmhouse dining table, you’re in the right place. This style is timeless, sturdy, and surprisingly achievable for a beginner woodworker. With the right tools, materials, and a clear plan, you can create a piece that lasts for generations. Let’s walk through the entire process together.
Farmhouse tables are more than just furniture. They’re the centerpiece of family gatherings, homework sessions, and weekend brunches.
Here’s why so many people choose to build one rather than buy:

A well-built farmhouse dining table can easily last 30 to 50 years with proper care.
Before you start, gather the following tools:
For a standard 72-inch farmhouse dining table, you’ll need:
Tip: Pine is affordable and easy to work with. Oak is more durable but harder to cut. Choose based on your skill level and budget.
Start by measuring and marking all your pieces. A standard farmhouse table is about 72 inches long and 36 inches wide.
Cut the following:
Double-check every measurement before cutting. As carpenters say: measure twice, cut once.
The base consists of the four legs and the four apron boards. This frame gives the table its strength.
Let the base dry for at least 2 hours before moving to the next step.
Lay your tabletop boards side by side on a flat surface. Arrange them so the wood grain alternates direction — this prevents warping over time.
A smooth, flat tabletop is the mark of a well-built farmhouse dining table. Take your time with sanding.
Flip the tabletop upside down on a padded surface. Place the base on top, centered carefully.
Use figure-8 fasteners or tabletop clips to attach the top to the apron frame. These allow the wood to expand and contract with humidity changes — critical for long-term durability.
Drive screws through the clips into the tabletop. Do not over-tighten. The top needs a little room to move.
Now comes the most rewarding part. Sanding and finishing transform rough lumber into a beautiful piece of furniture.
Popular finish options:
Even experienced woodworkers make mistakes. Watch out for these:
One of the best reasons to build a farmhouse dining table yourself is the freedom to customize it.
Size variations:
Design options:
Most beginners can complete the build in a weekend — roughly 8 to 12 hours of active work. Add drying and curing time for glue and finish, and plan for 3 to 4 days total.
Pine is the most popular choice for beginners due to its low cost and ease of use. For a more durable table, oak or poplar are excellent options. Avoid softwoods that dent easily if you have young children.
The average cost ranges from $150 to $400 depending on the wood species and finish you choose. This is significantly less than buying a comparable table from a furniture store, where similar pieces often cost $800 or more.
Building your own farmhouse dining table is one of the most rewarding DIY projects you can take on. It requires patience and attention to detail, but the result is a beautiful, functional piece you’ll be proud of for years. Now that you know exactly how to build a farmhouse dining table from scratch, it’s time to head to the lumber yard and get started.
Ready to build? Share your project in the comments below — we’d love to see what you create!
We’re here to help! Whether you need guidance on choosing the right plans or have questions about our recommendations, our team is ready to assist. Reach out anytime—your success is our priority.