Best Way to Sand Furniture Before Painting




Digitriserkamal
4 August 2026
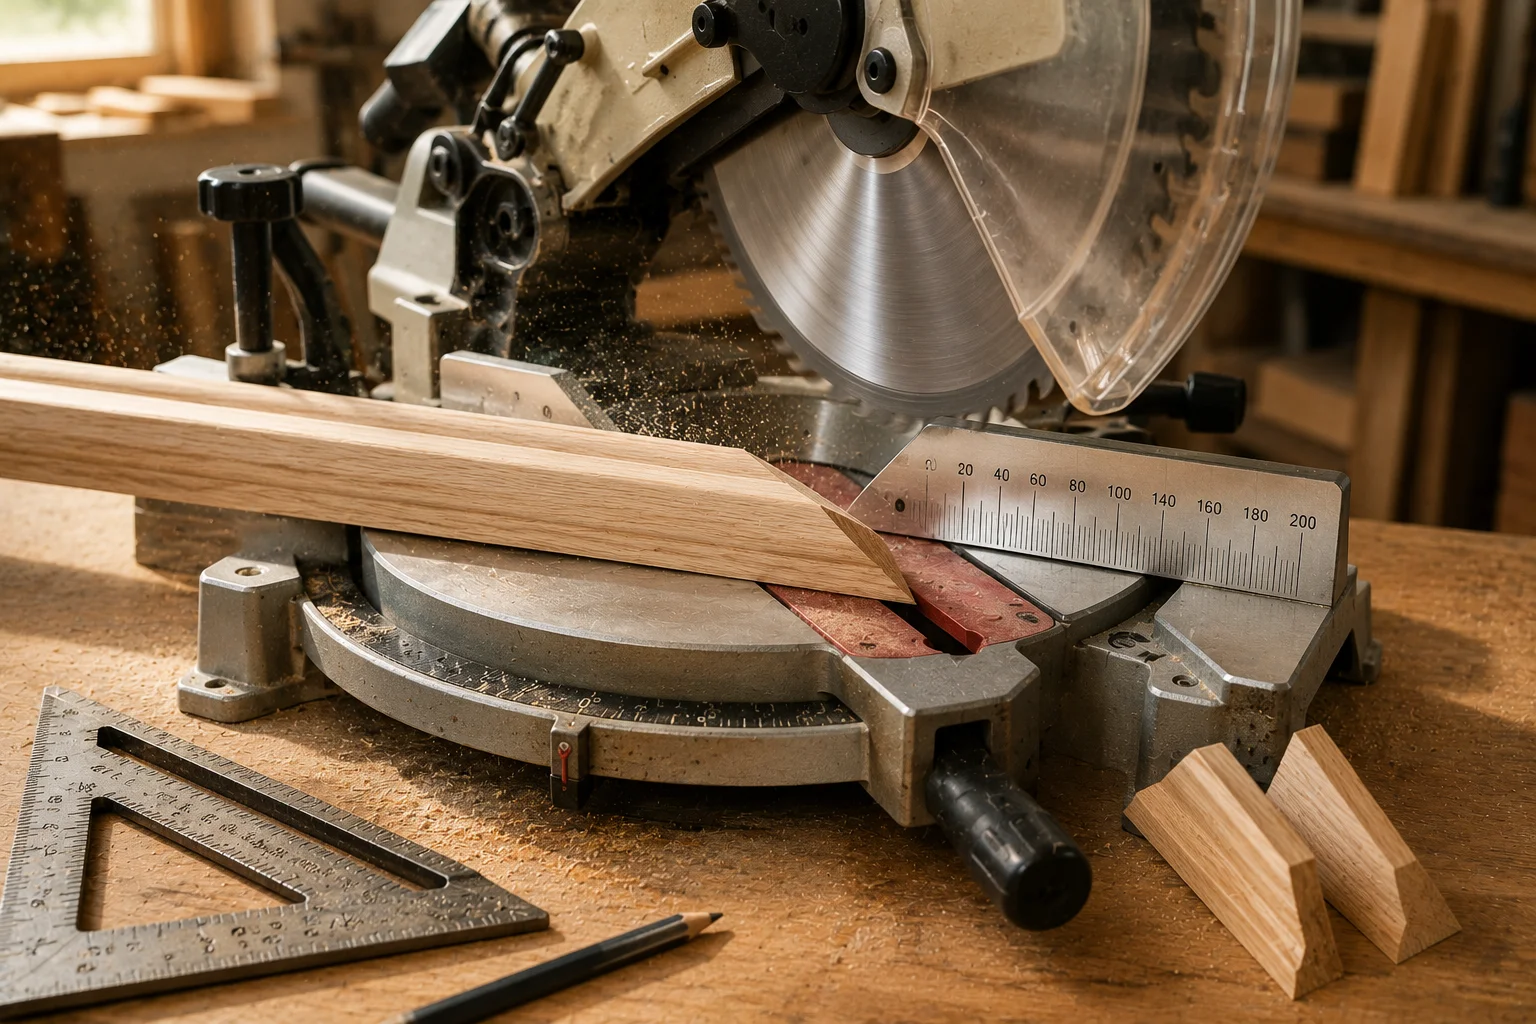
A tight miter joint can make a frame, box, or furniture project look carefully crafted. A small angle error, however, can leave a visible gap. Learning how to cut perfect miters requires more than setting a saw to 45 degrees.
Reliable results come from straight stock, a calibrated tool, test cuts, and consistent support. Once you know where errors begin, the process becomes much easier to repeat.
A miter cut crosses the face of a board at an angle. For a square frame or 90-degree corner, two matching 45-degree cuts meet to form the joint.
Miter saws are designed for accurate angled cuts by lowering a guarded circular blade through material supported against a fence. Compound models can also tilt for bevel cuts.
A precise saw cannot correct twisted, bowed, or uneven stock. Check each board on a flat surface and confirm that its working edges are straight.
For frames, use pieces with consistent width and thickness. Accurate angles may still misalign when one board is wider than another.
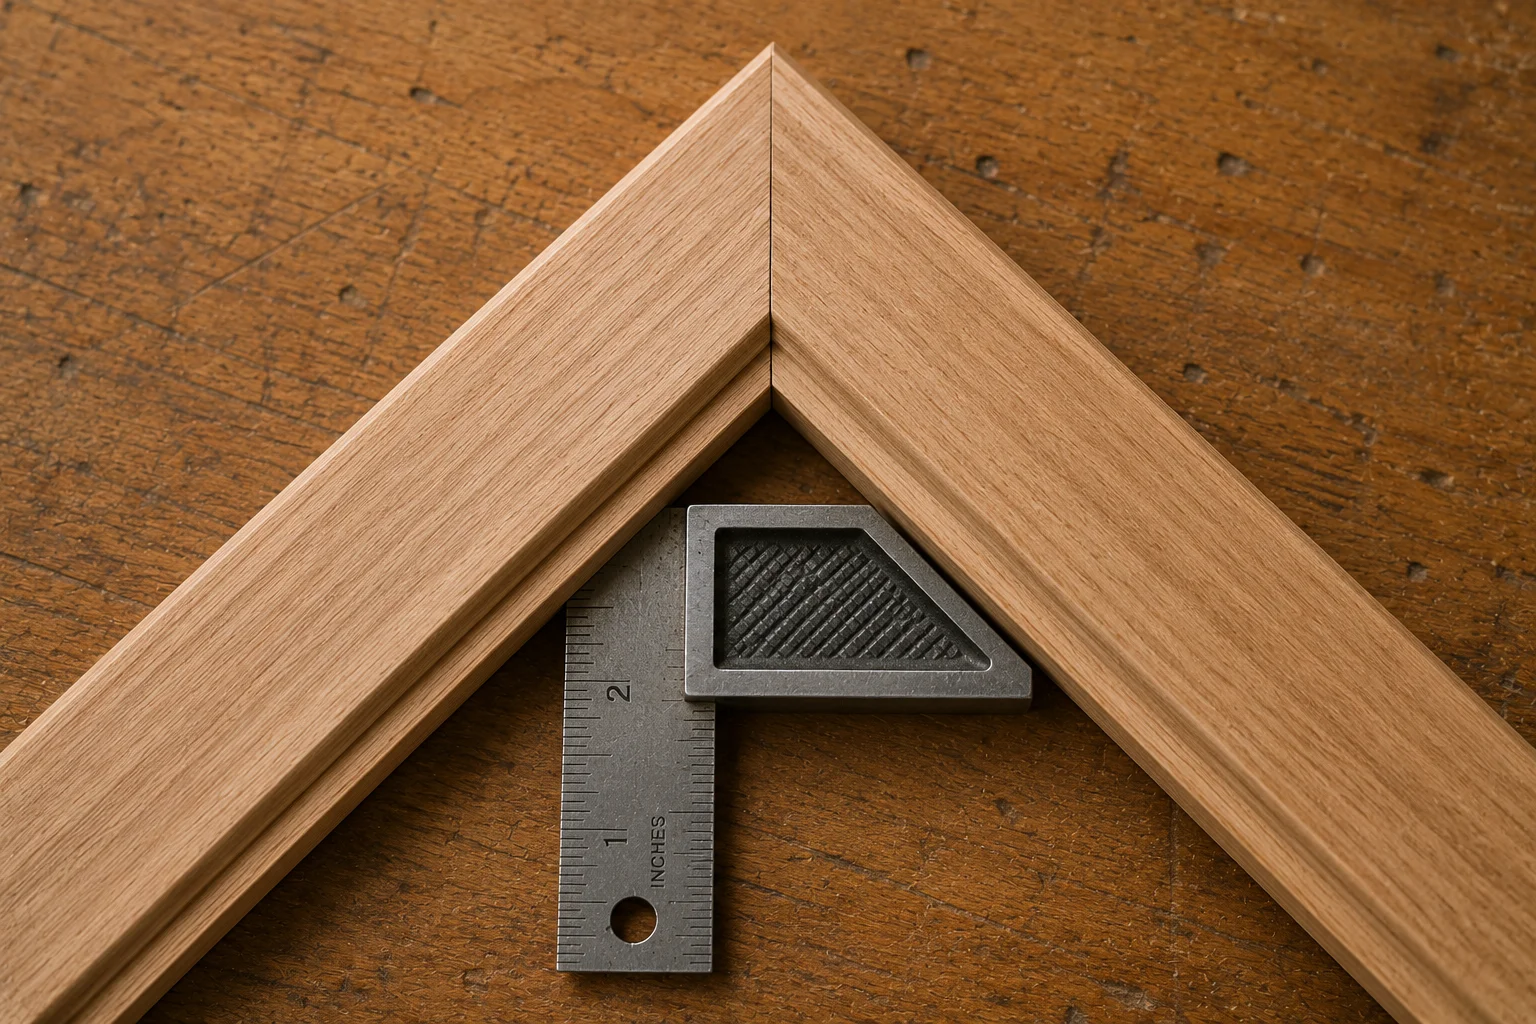
Before testing a 45-degree setting, confirm that the saw makes a square cut. Disconnect the tool, lower the blade, and compare it with a reliable square according to the manufacturer’s adjustment procedure.
Check that the fence is straight and aligned. A shifted fence can create inconsistent angles even when the miter scale looks correct.
Do not assume the factory detent is exact. Cut two test pieces at 45 degrees, place their mitered ends together, and check whether they form a clean 90-degree corner.
A gap at either edge indicates that the setting needs adjustment. Make tiny changes and repeat the test until the joint closes without being forced.
Draw a clear cut line and mark the discarded section. Position the blade so its teeth remove material from the waste side rather than cutting through the finished measurement.
For visible work, leave the piece slightly long and make a light final trimming pass.
Place the board flat on the table and firmly against the fence. Support long pieces so their weight does not lift or twist the cutting end.
Never make a freehand cut on a stationary saw. OSHA recommends using a fence or gauge, maintaining functional guards, and keeping hands away from the cutting area.
Frames and boxes depend on opposite pieces having identical lengths. A stop block creates a repeatable reference and reduces measurement differences.
Set it for the finished length, then cut every matching piece without changing the setup. Avoid trapping an offcut between the blade and a fixed stop.
Let the blade reach full speed before lowering it smoothly through the material. Do not force the saw.
After the cut, release the trigger and allow the blade to stop before raising the head or reaching near the workpiece. Guards should remain installed, and damaged or dull blades should not be used.
Arrange all pieces on a flat surface and close the corners with light pressure. One joint may look accurate while several small errors prevent the full frame from closing.
Check the diagonals of square or rectangular assemblies. Equal diagonal measurements indicate that the frame is square.
An outside-edge gap usually means the combined angle is too open. An inside-edge gap usually means it is too tight. Adjust the saw only slightly because a small change affects both pieces.
Gaps can also result from unequal lengths, bowed boards, blade deflection, or material moving during the cut. Identify the cause before sanding, as sanding can change the angle further.
Walls and existing trim are not always exactly 90 degrees. Measure the actual corner rather than automatically selecting 45 degrees.
For a symmetrical joint, divide the corner angle by two. A 92-degree corner needs two 46-degree miters. Make test pieces first to account for surface irregularities.
Apply a thin layer of suitable wood glue to both surfaces. Use a band clamp, corner clamp, or carefully positioned tape to hold the joint while it cures.
Avoid excessive pressure, which can slide the parts out of alignment. Recheck the diagonals and corners immediately after tightening.
Accurate miters become easier when you practice them through projects with clear dimensions and an organized sequence.
Our Woodworking Plans e-book brings furniture, storage, décor, and practical home builds together in one resource. It includes step-by-step plans, measurements, material guidance, and useful building tips.
Use it to practice frame construction, improve your cutting accuracy, and turn individual woodworking techniques into finished projects.
Explore our Woodworking Plans e-book and choose your next build today.
Knowing how to cut perfect miters every time comes down to controlling small details. Begin with straight material, calibrate the saw, cut on the waste side, support each board, and test the assembly before gluing.
Do not rely on the angle scale alone. A few careful test cuts can save an entire frame and produce a crisp, gap-free joint.
The saw may be slightly inaccurate, the boards may have unequal lengths, or the material may not sit flat against the fence. Test scrap pieces and adjust the angle gradually.
Yes. Use a reliable guide, support the board securely, and test the angle on scrap material. A miter saw is usually more convenient for repeated matching cuts.
A tiny cosmetic gap may be repairable, but correcting the angle before assembly produces a cleaner result. Avoid using filler to hide a poorly fitted joint.
We’re here to help! Whether you need guidance on choosing the right plans or have questions about our recommendations, our team is ready to assist. Reach out anytime—your success is our priority.